
PART 1 · THE FIRST SIX FEET
The end goal is a 12-foot-wide workstation built from two birch butcher-block sections. This first installment covers the prototype half: shaping, sanding, staining, protecting, and installing the first six-foot desktop.
A large desk sounds simple until the top is sitting in front of you. The slab is heavy, the routed edge is always visible, a stain mistake affects six feet of wood at once, and the finish has to survive monitor arms, computer towers, coffee, and everyday work. I treated the first half of this build as both a finished desk and a full-scale test for the second half.
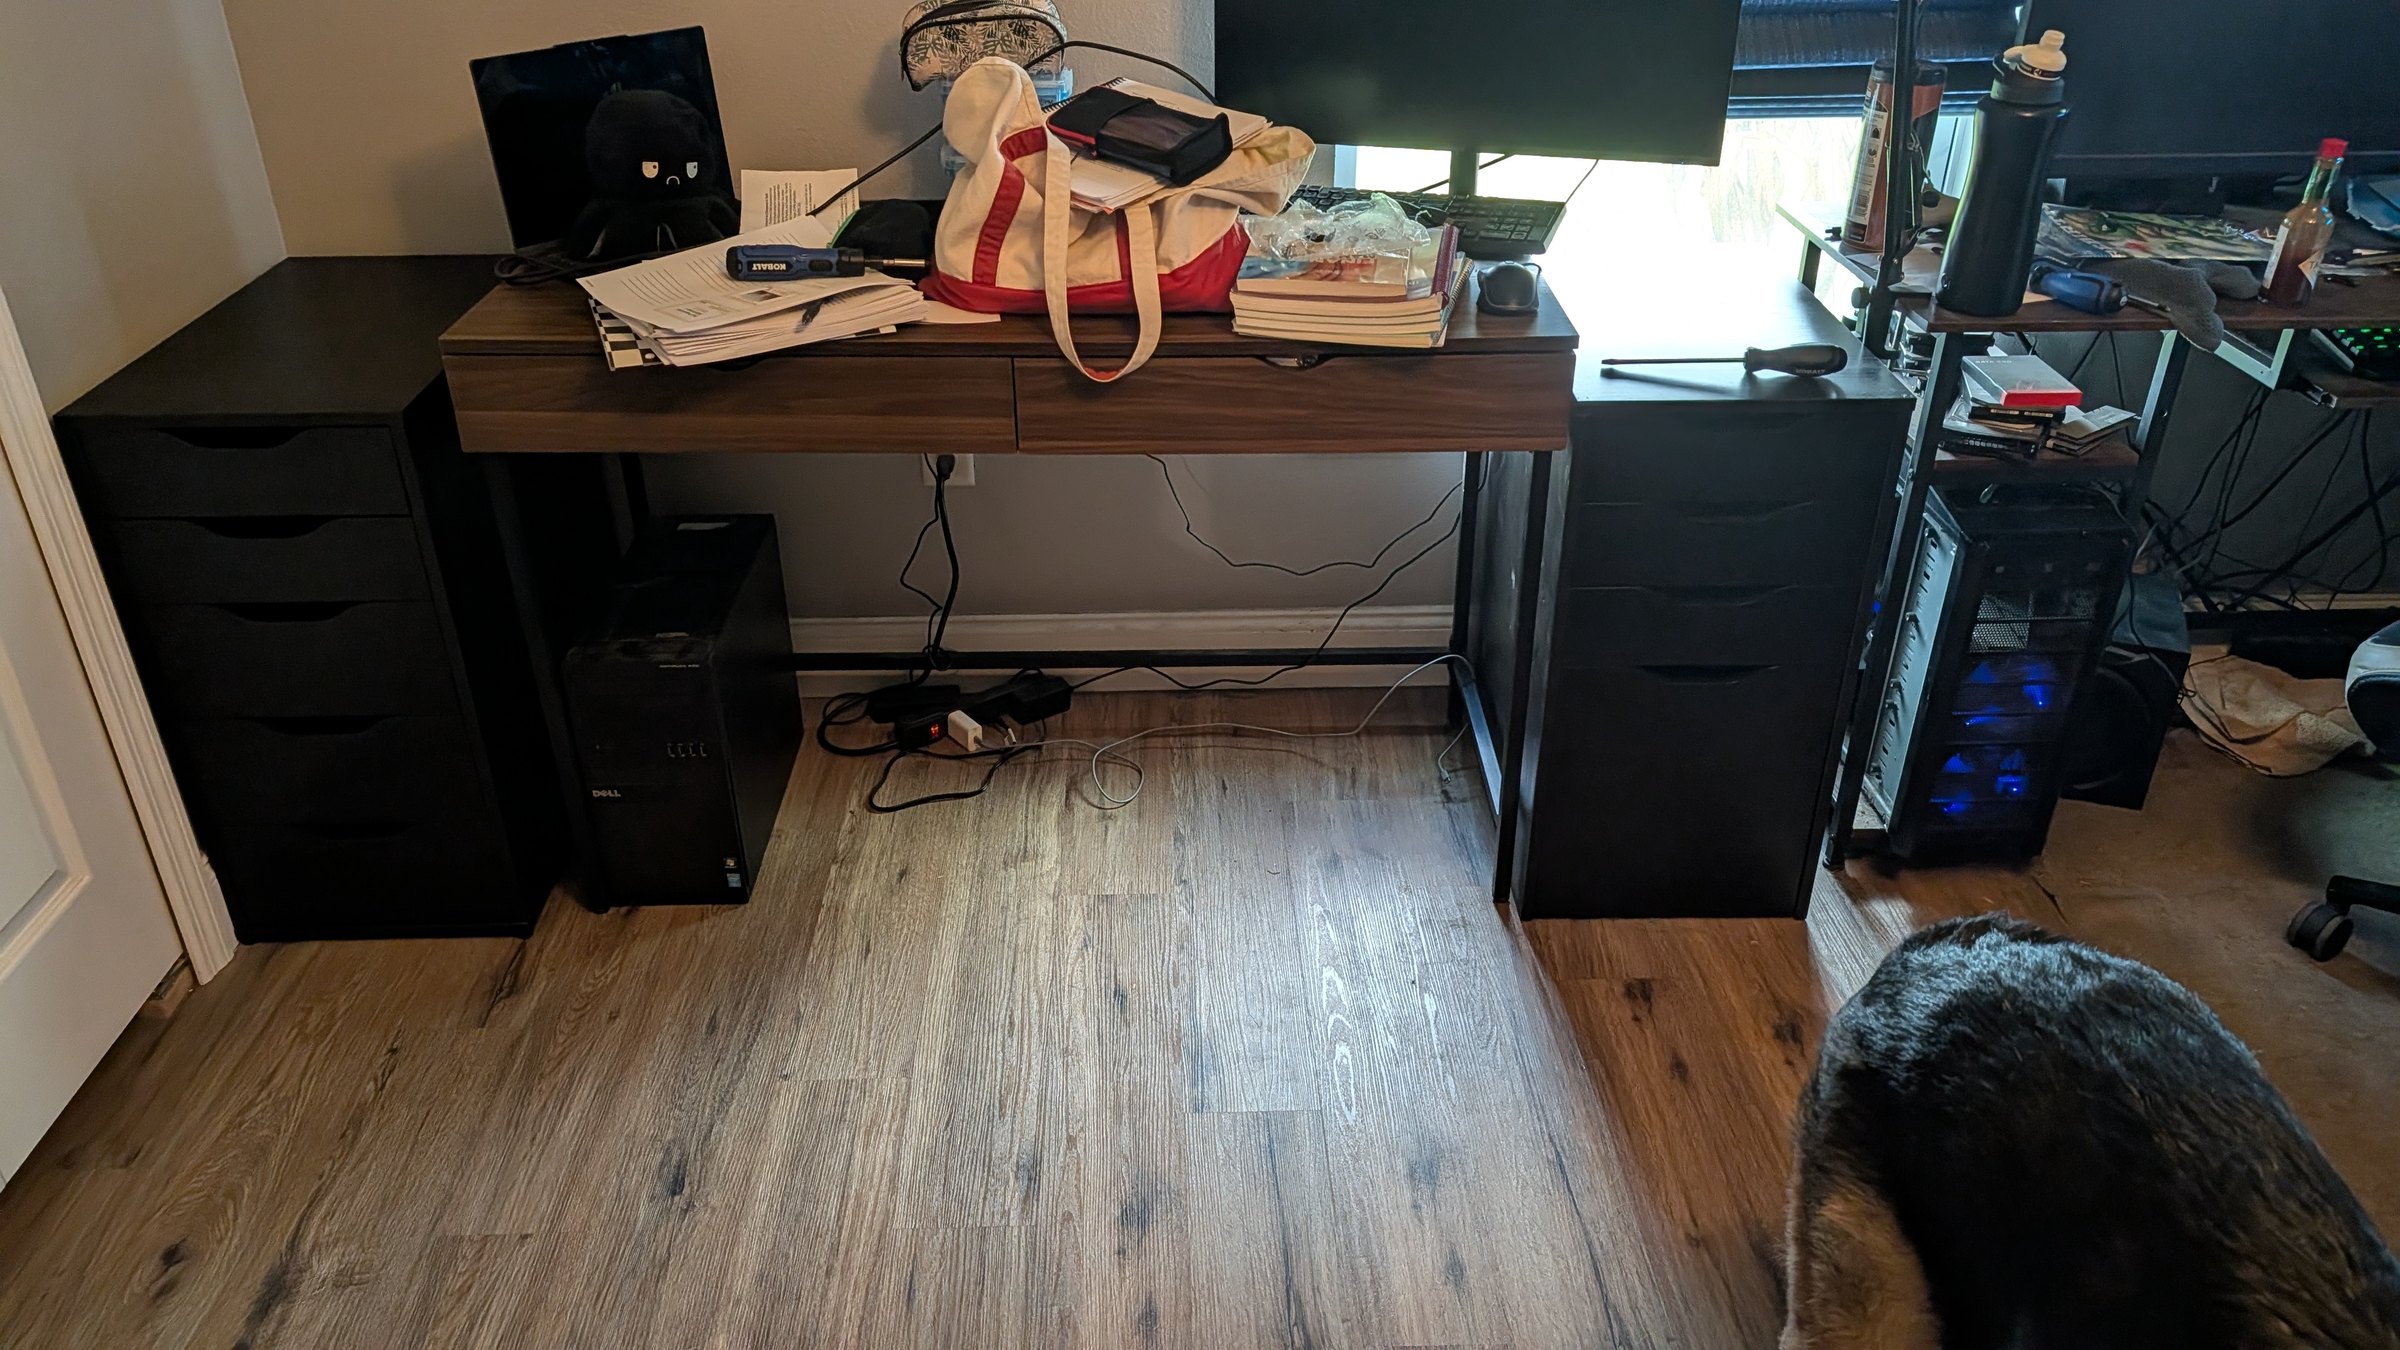
The project brief
- Finished size: two sections totaling roughly 12 feet wide, 2 feet deep, and 1½ inches thick
- Desktop: birch butcher block
- Base: black-brown drawer units that provide both storage and support
- Color goal: warm, light honey rather than a dark ebony finish
- Protection: a durable satin, oil-based polyurethane suitable for a heavily used workstation
Splitting the project into two six-foot sections made the material easier to move and gave me a chance to refine the process before repeating it. It also meant the first section could go into service while I planned the second.
Materials and tools used in Part 1
| Stage | What I used |
|---|---|
| Structure | Six-foot birch butcher-block panel and black-brown drawer bases |
| Edge work | Router with a rounded-edge bit, scrap support, and sanding tools |
| Surface prep | Wood filler, progressive sandpaper, vacuum, and clean lint-free rags |
| Color | Varathane Premium Fast Dry Wood Stain in Golden Oak |
| Protection | Minwax Fast-Drying Polyurethane in Satin, applied with a quality natural-bristle brush |
| Cleanup | Mineral spirits and appropriate containers for oil-soaked waste |
1. Shaping the visible edge
The factory-square edge would have worked, but it would not have been comfortable during long work sessions. I used a router to soften the exposed front edge and give the desktop a finished profile.
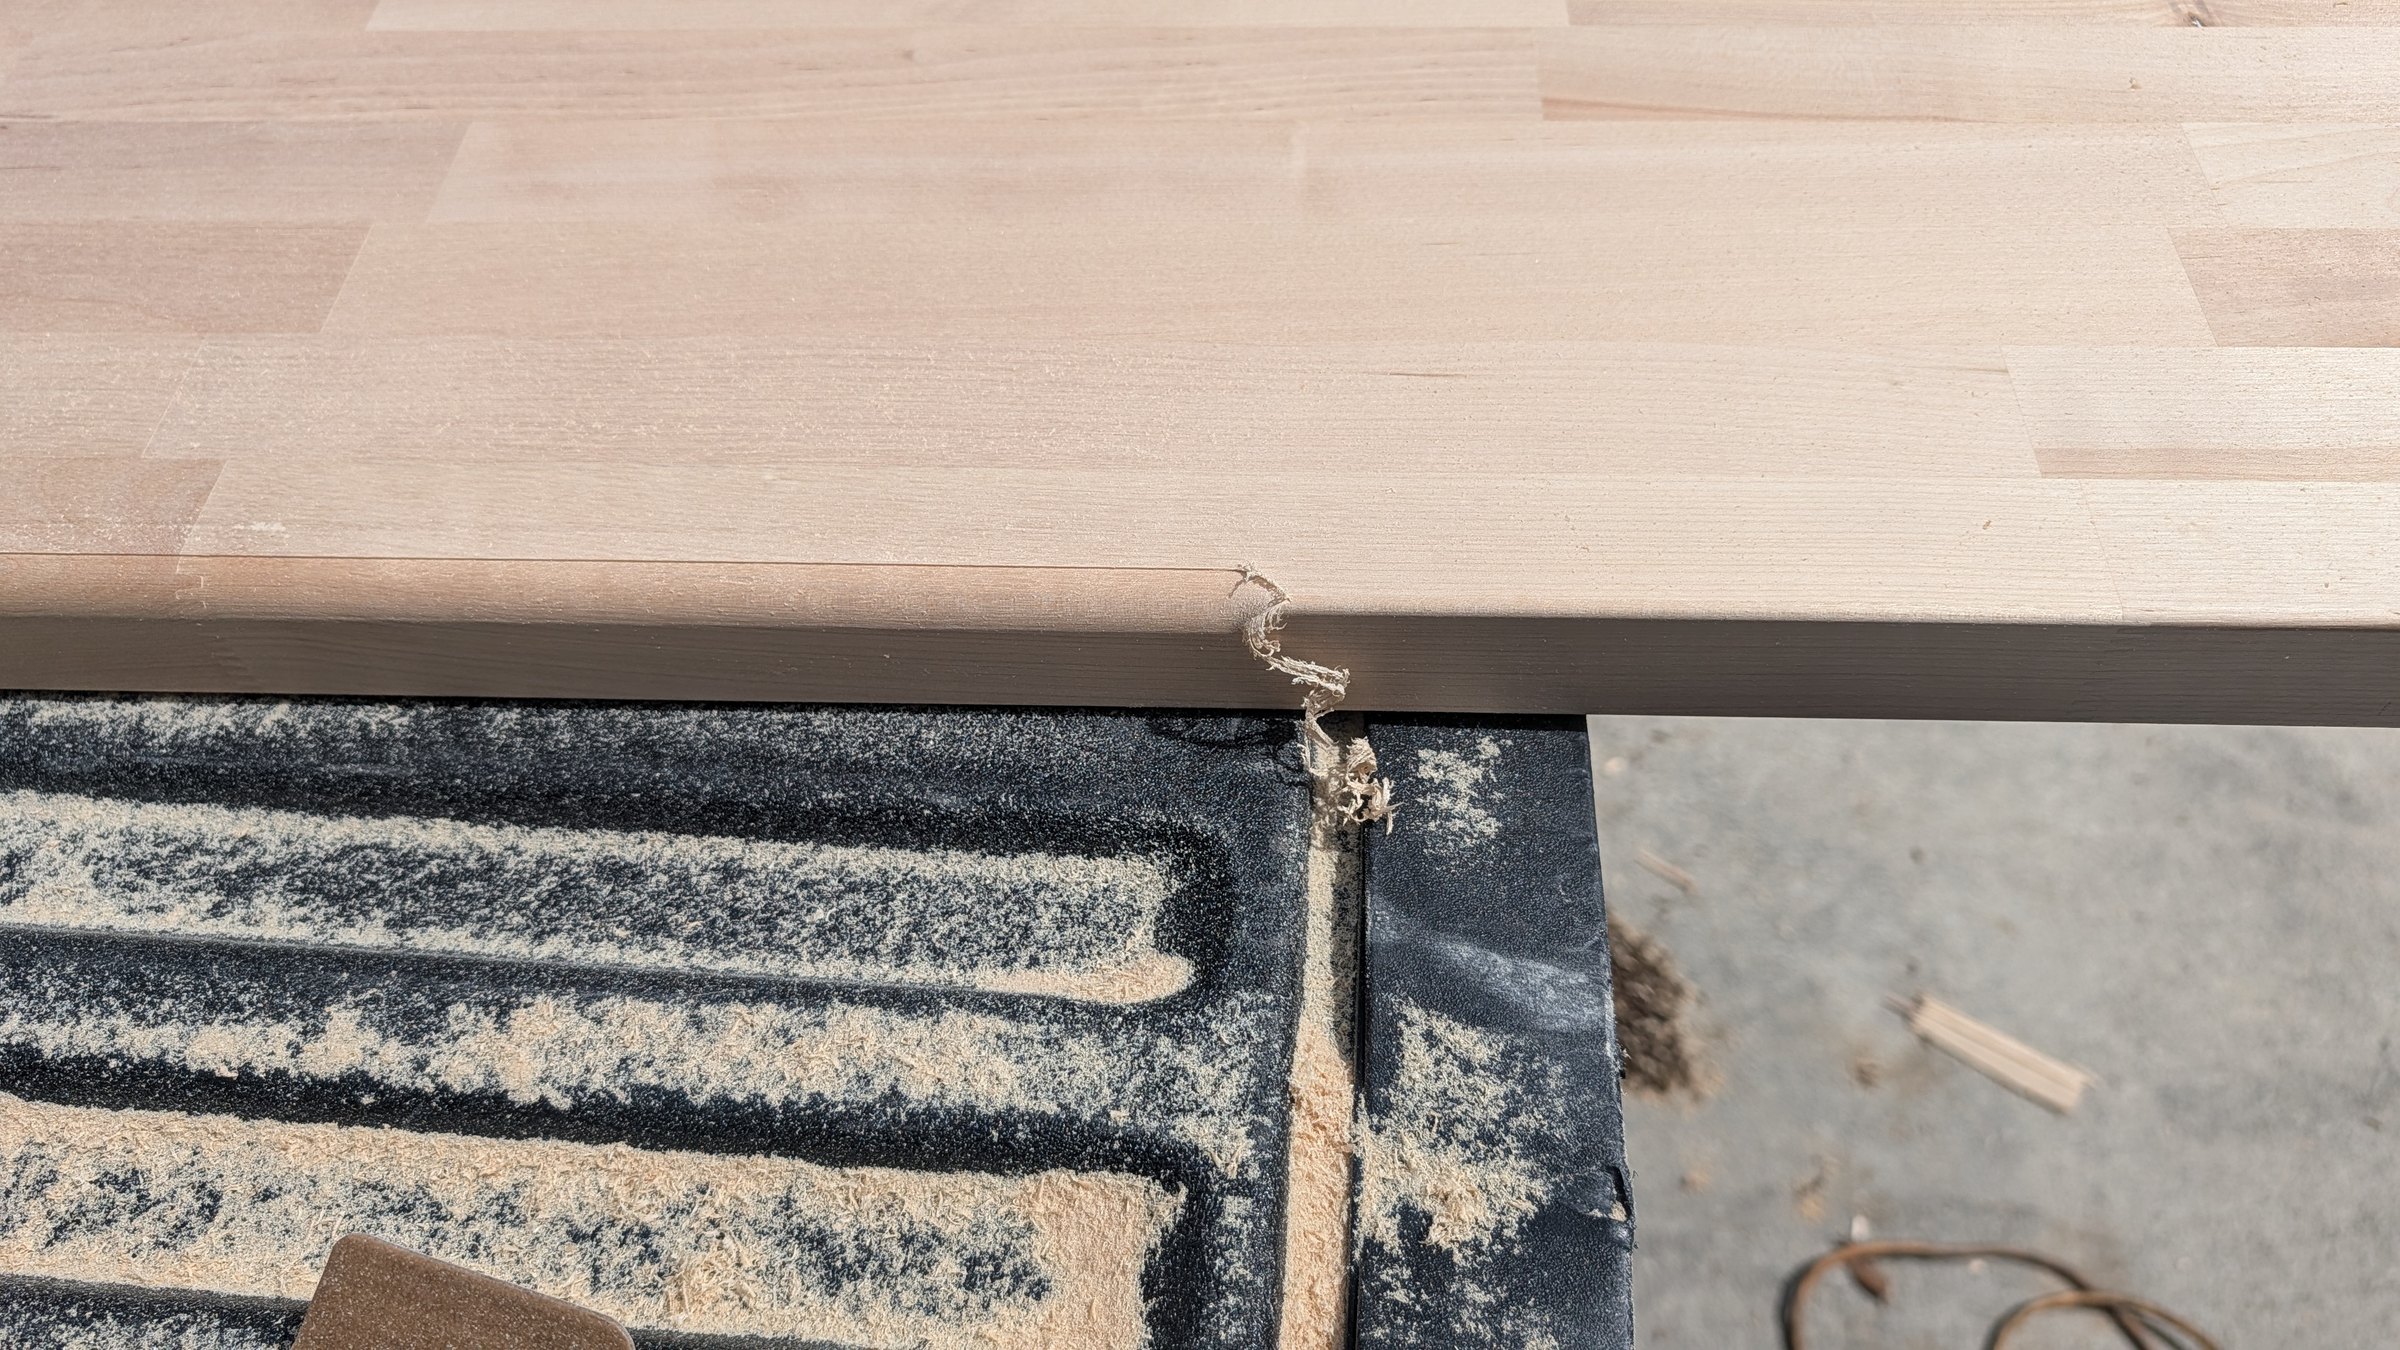
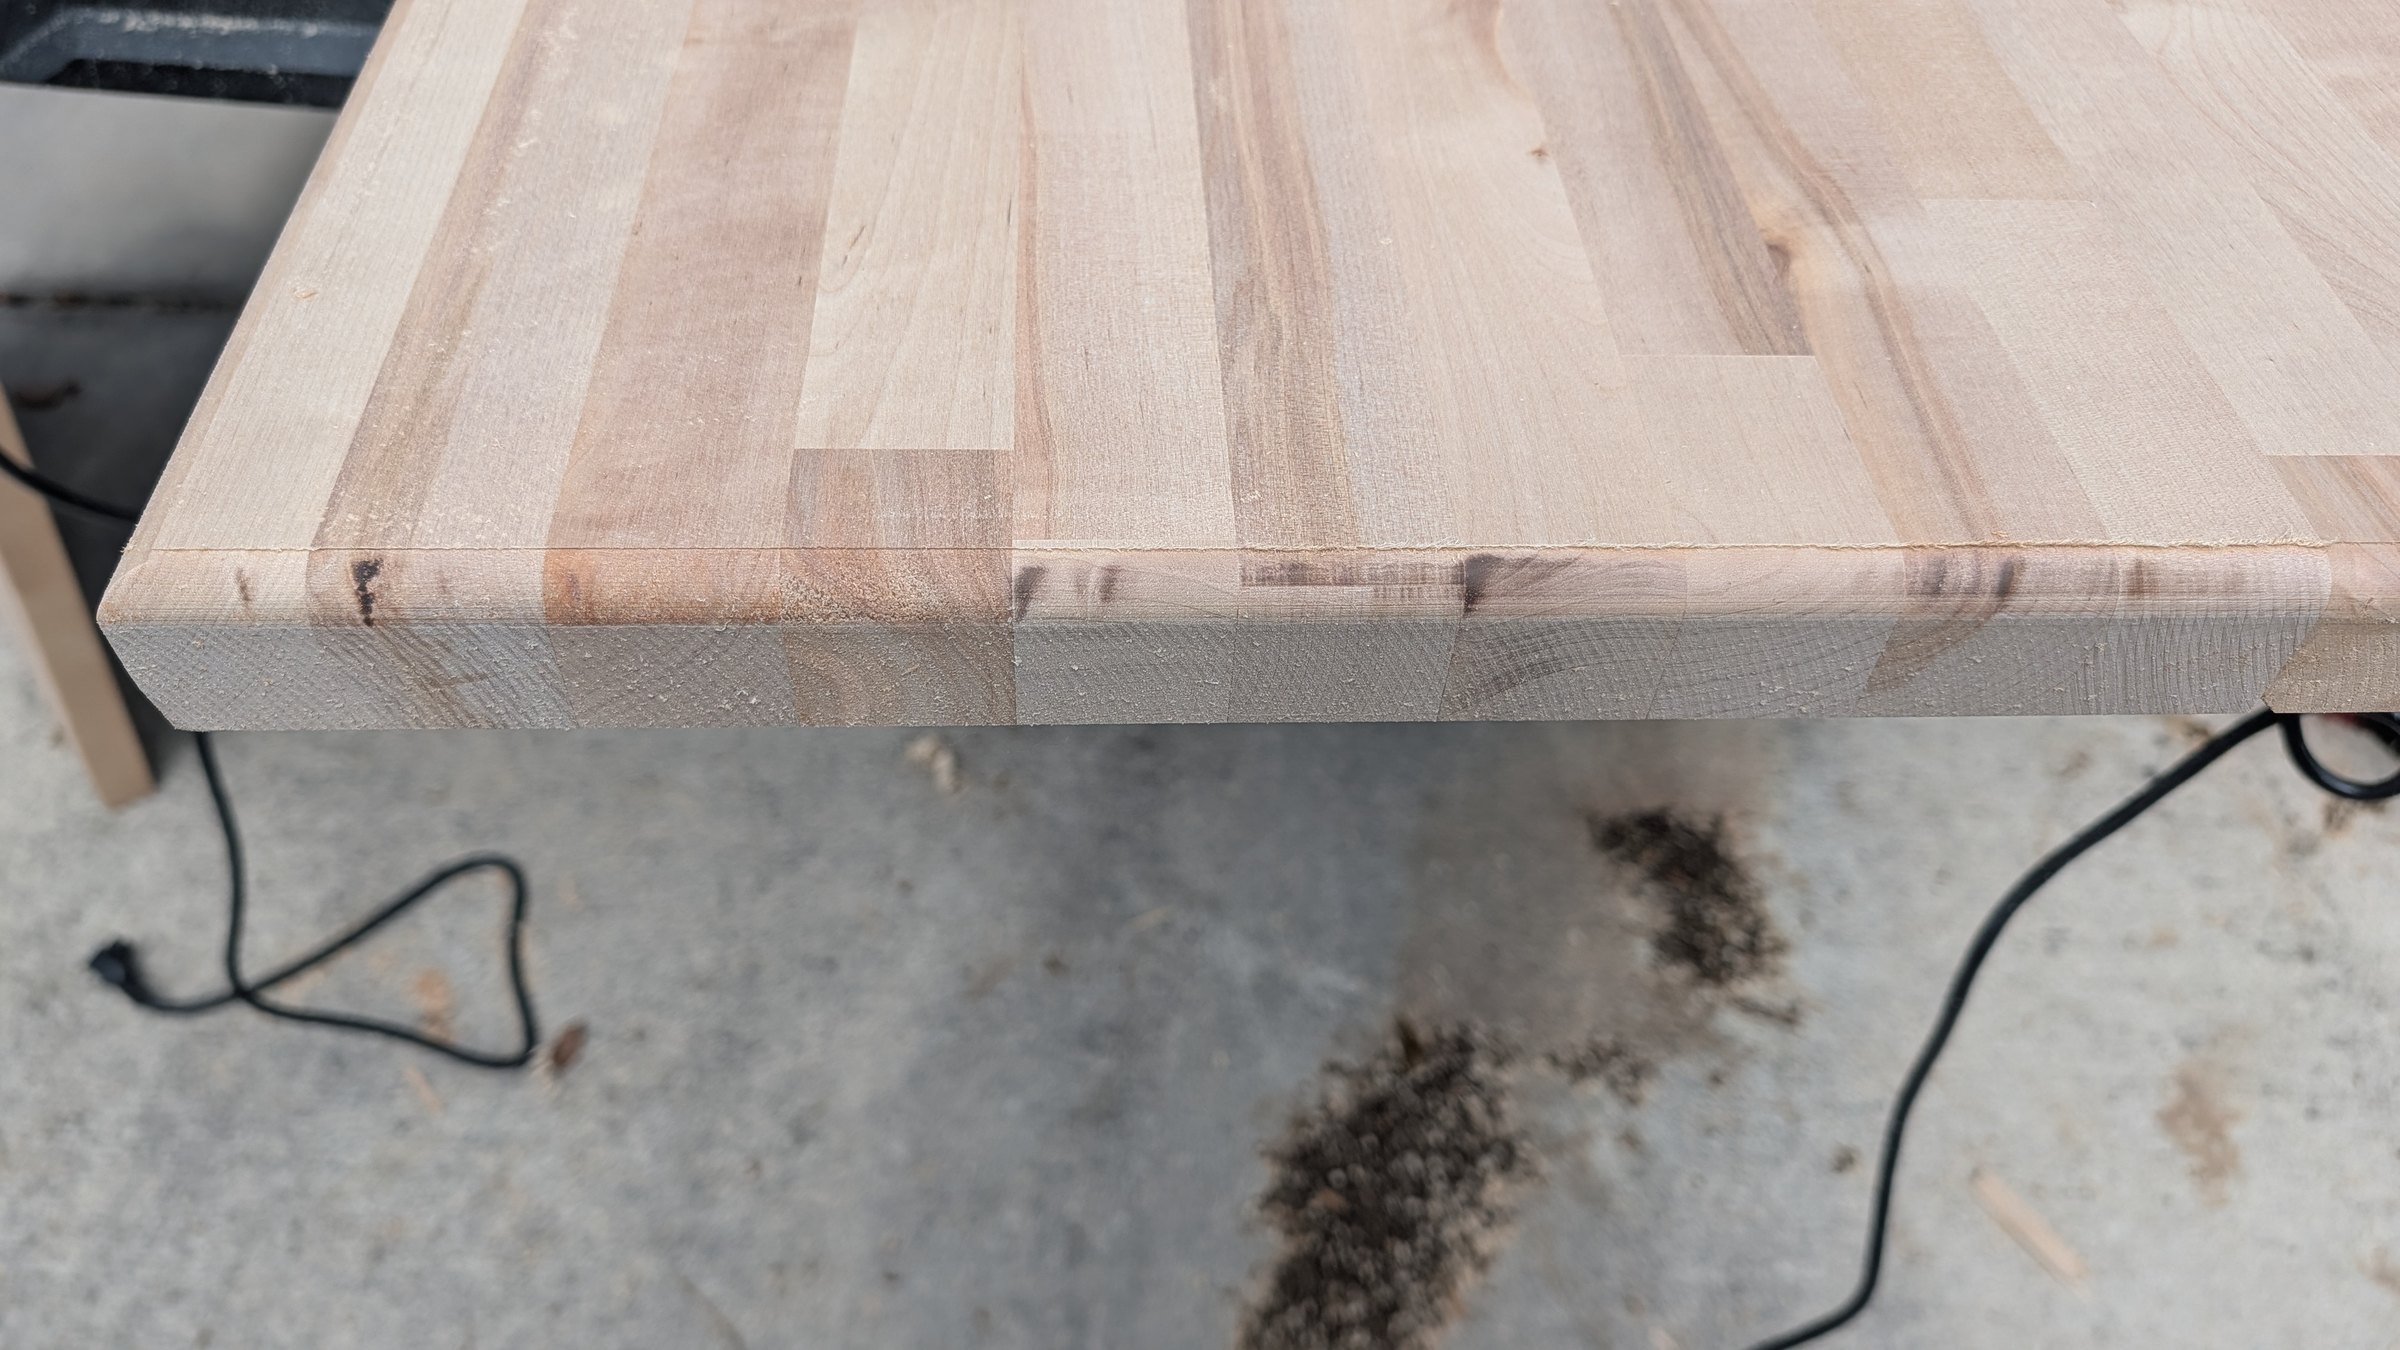
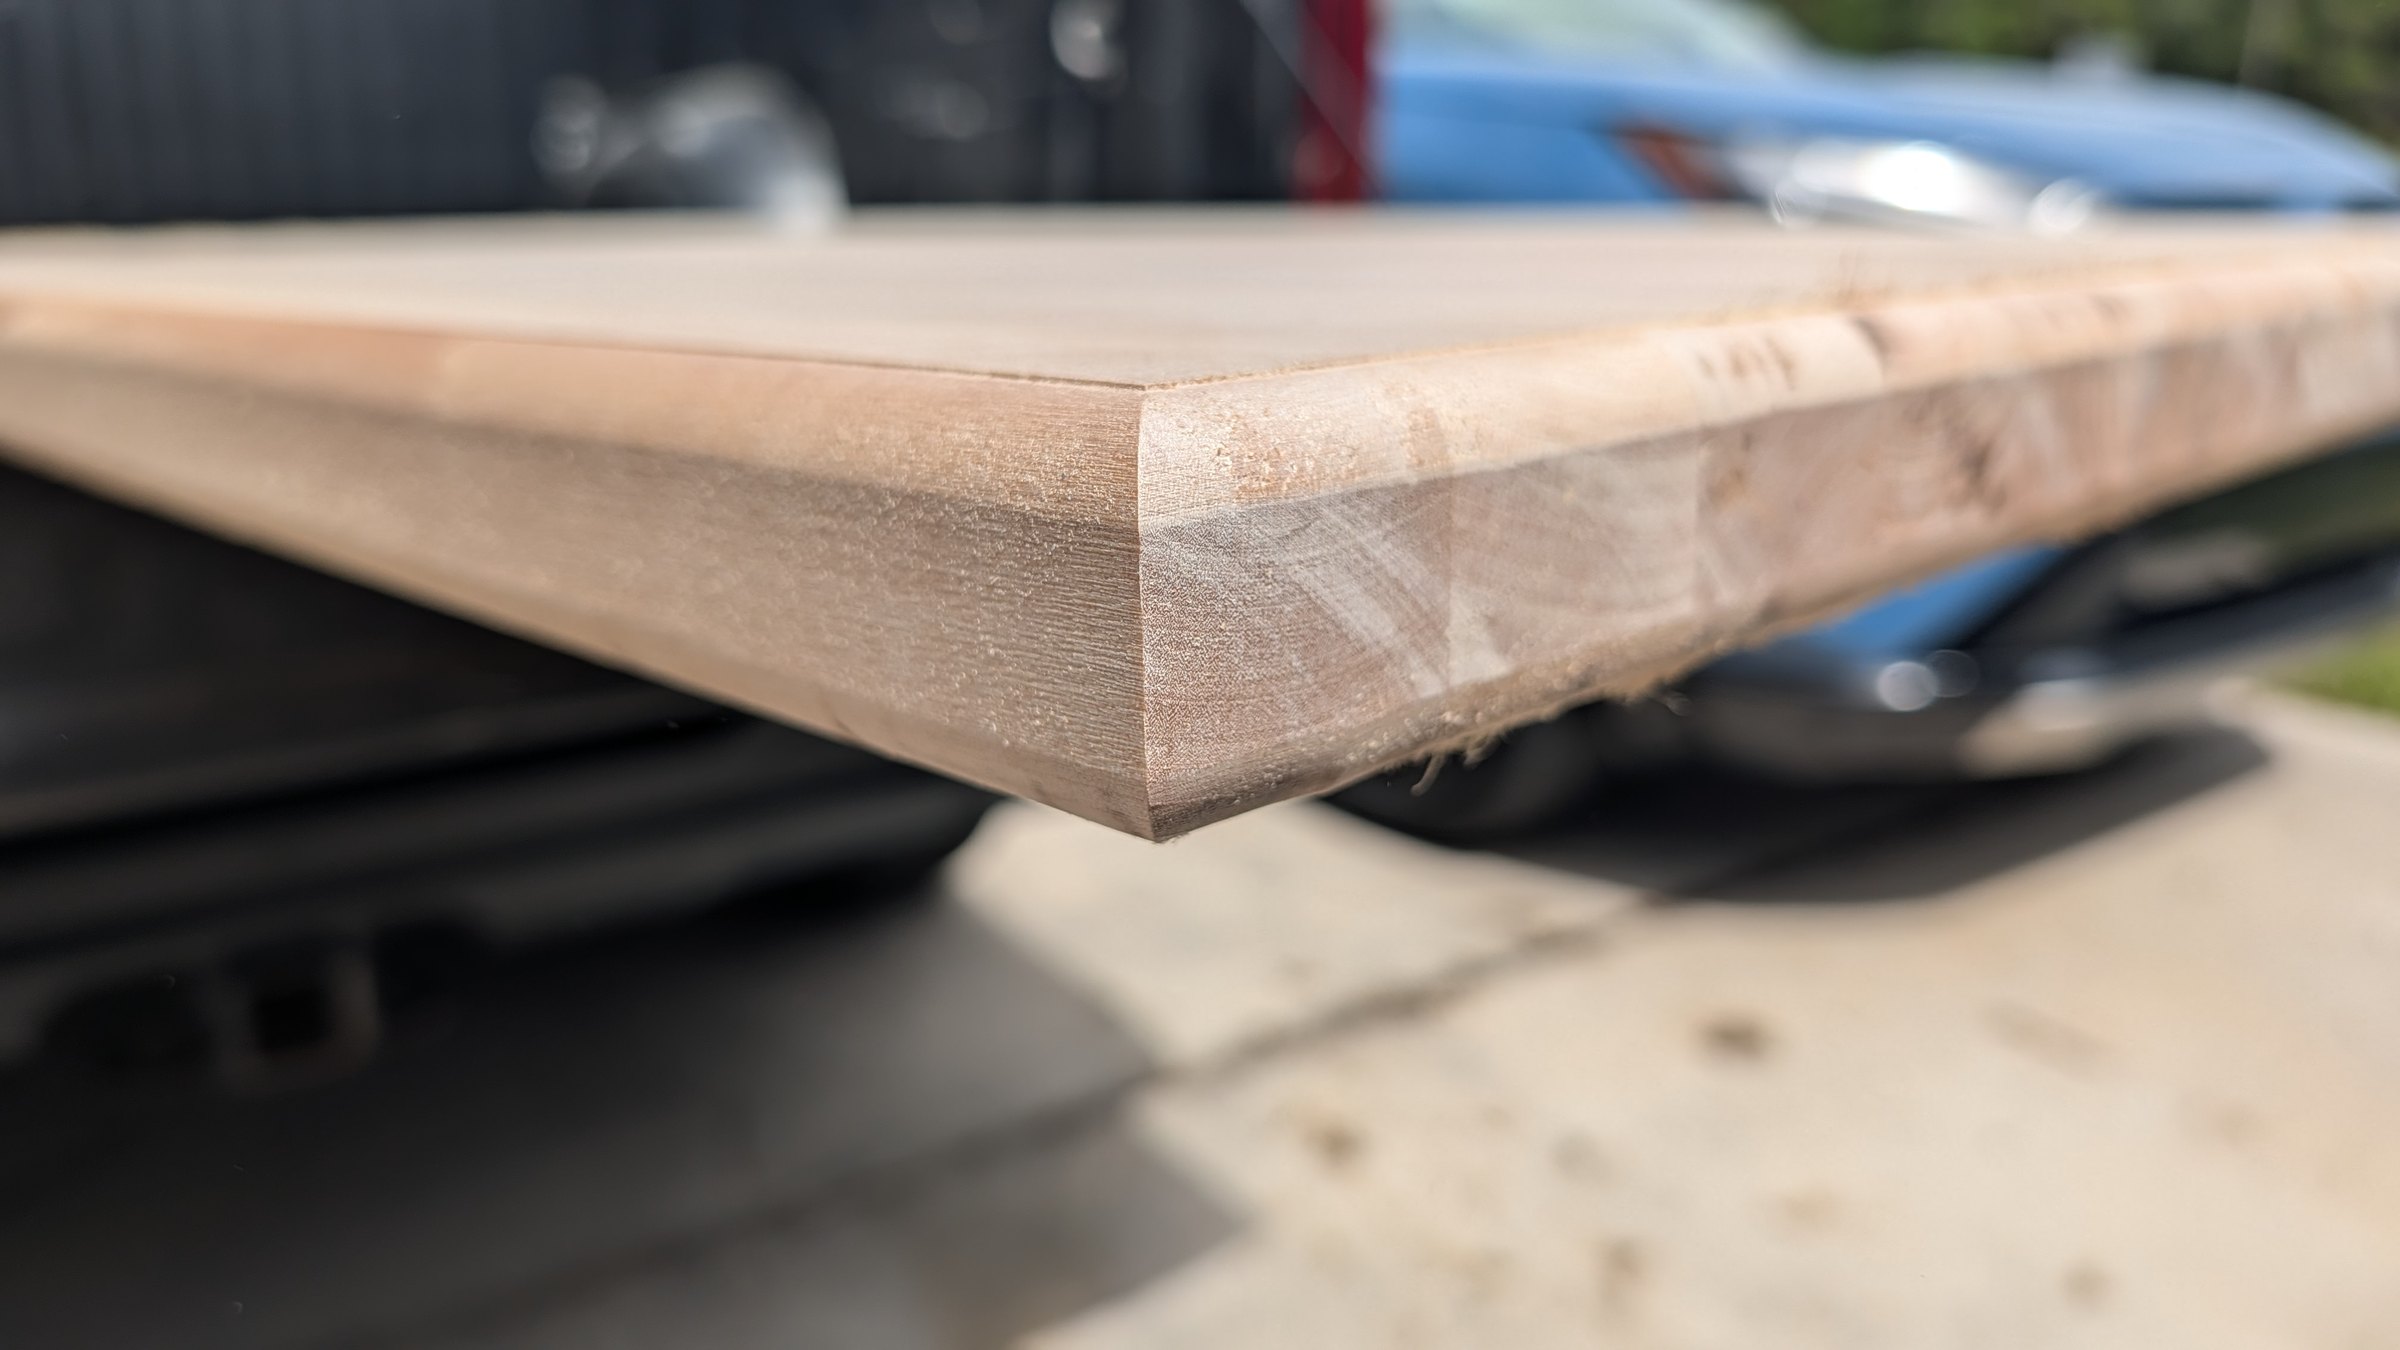
Routing lesson for Part 2
The fragile moment is where the bit exits an edge. Next time I will use a sacrificial backing piece, make shallower passes, support the panel more deliberately, and test the bit depth on scrap first. Router direction and setup depend on the tool and bit, so the manufacturer’s instructions remain the authority.
2. Filling and sanding the birch
After routing, I filled small voids and damaged areas, waited for the filler to harden, and sanded the repairs flush. The whole surface then received a progressive sanding pass in the direction of the grain, ending at 220 grit. Vacuuming between stages mattered: sanding dust left in the grain would become part of the finish.
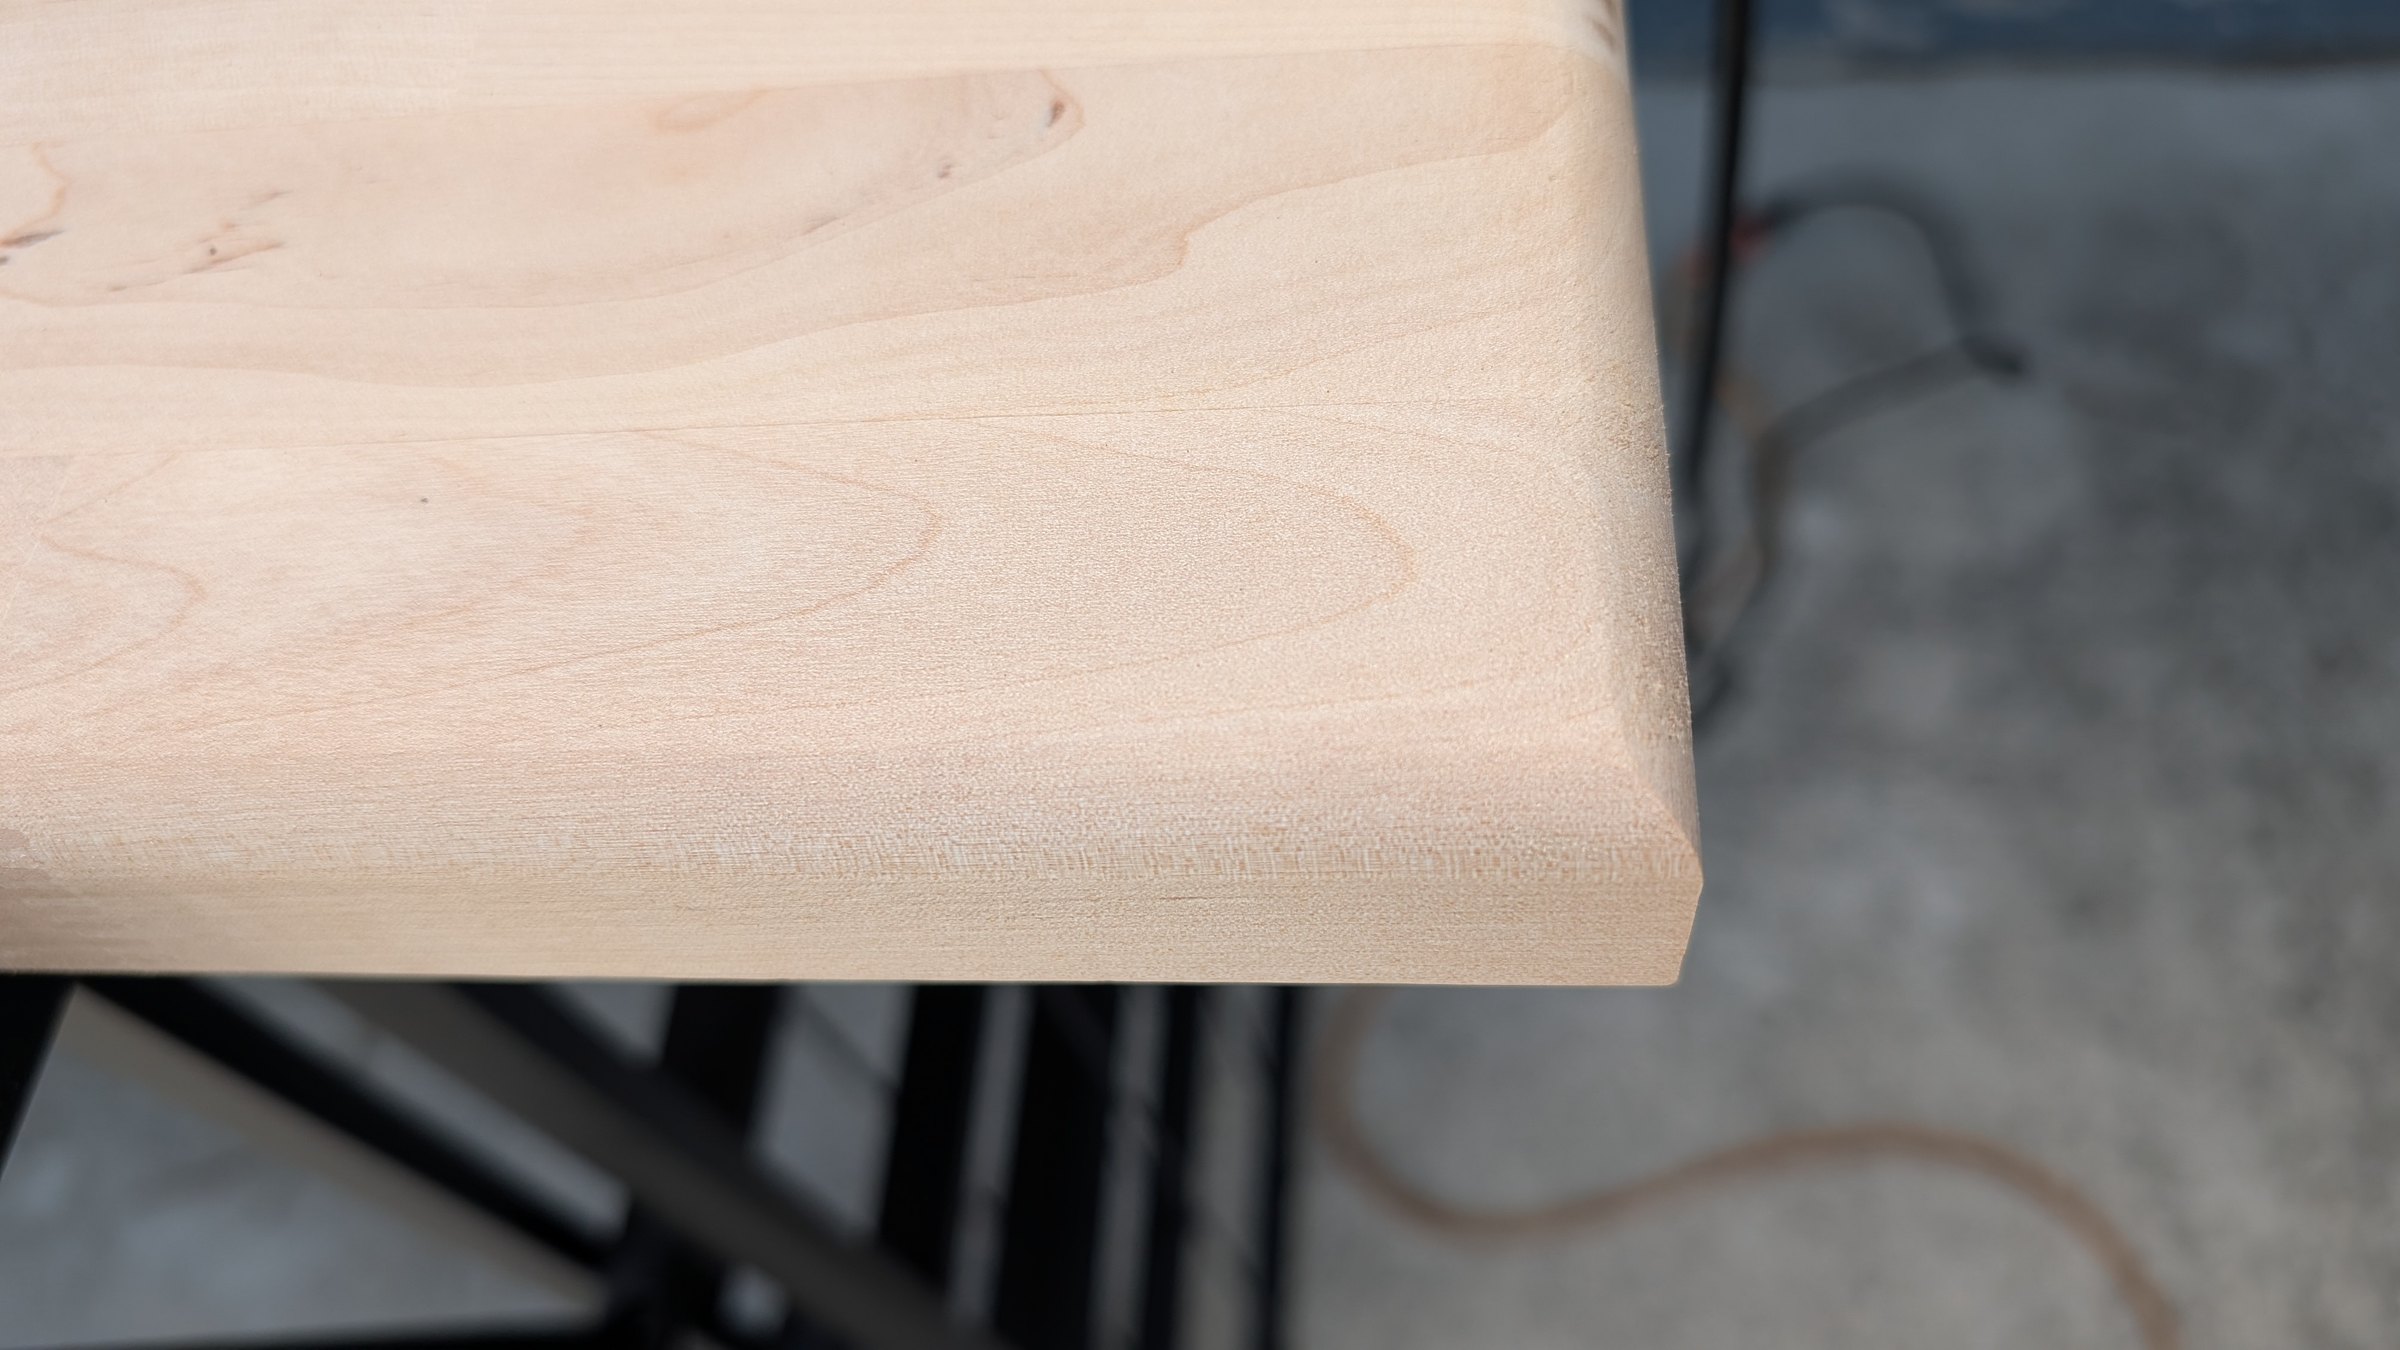
A bright work light held low across the surface helped reveal scratches, glue, filler ridges, and router marks that overhead lighting hid. Stain tends to make those defects more obvious, not less.
3. Dry fitting the first six-foot section
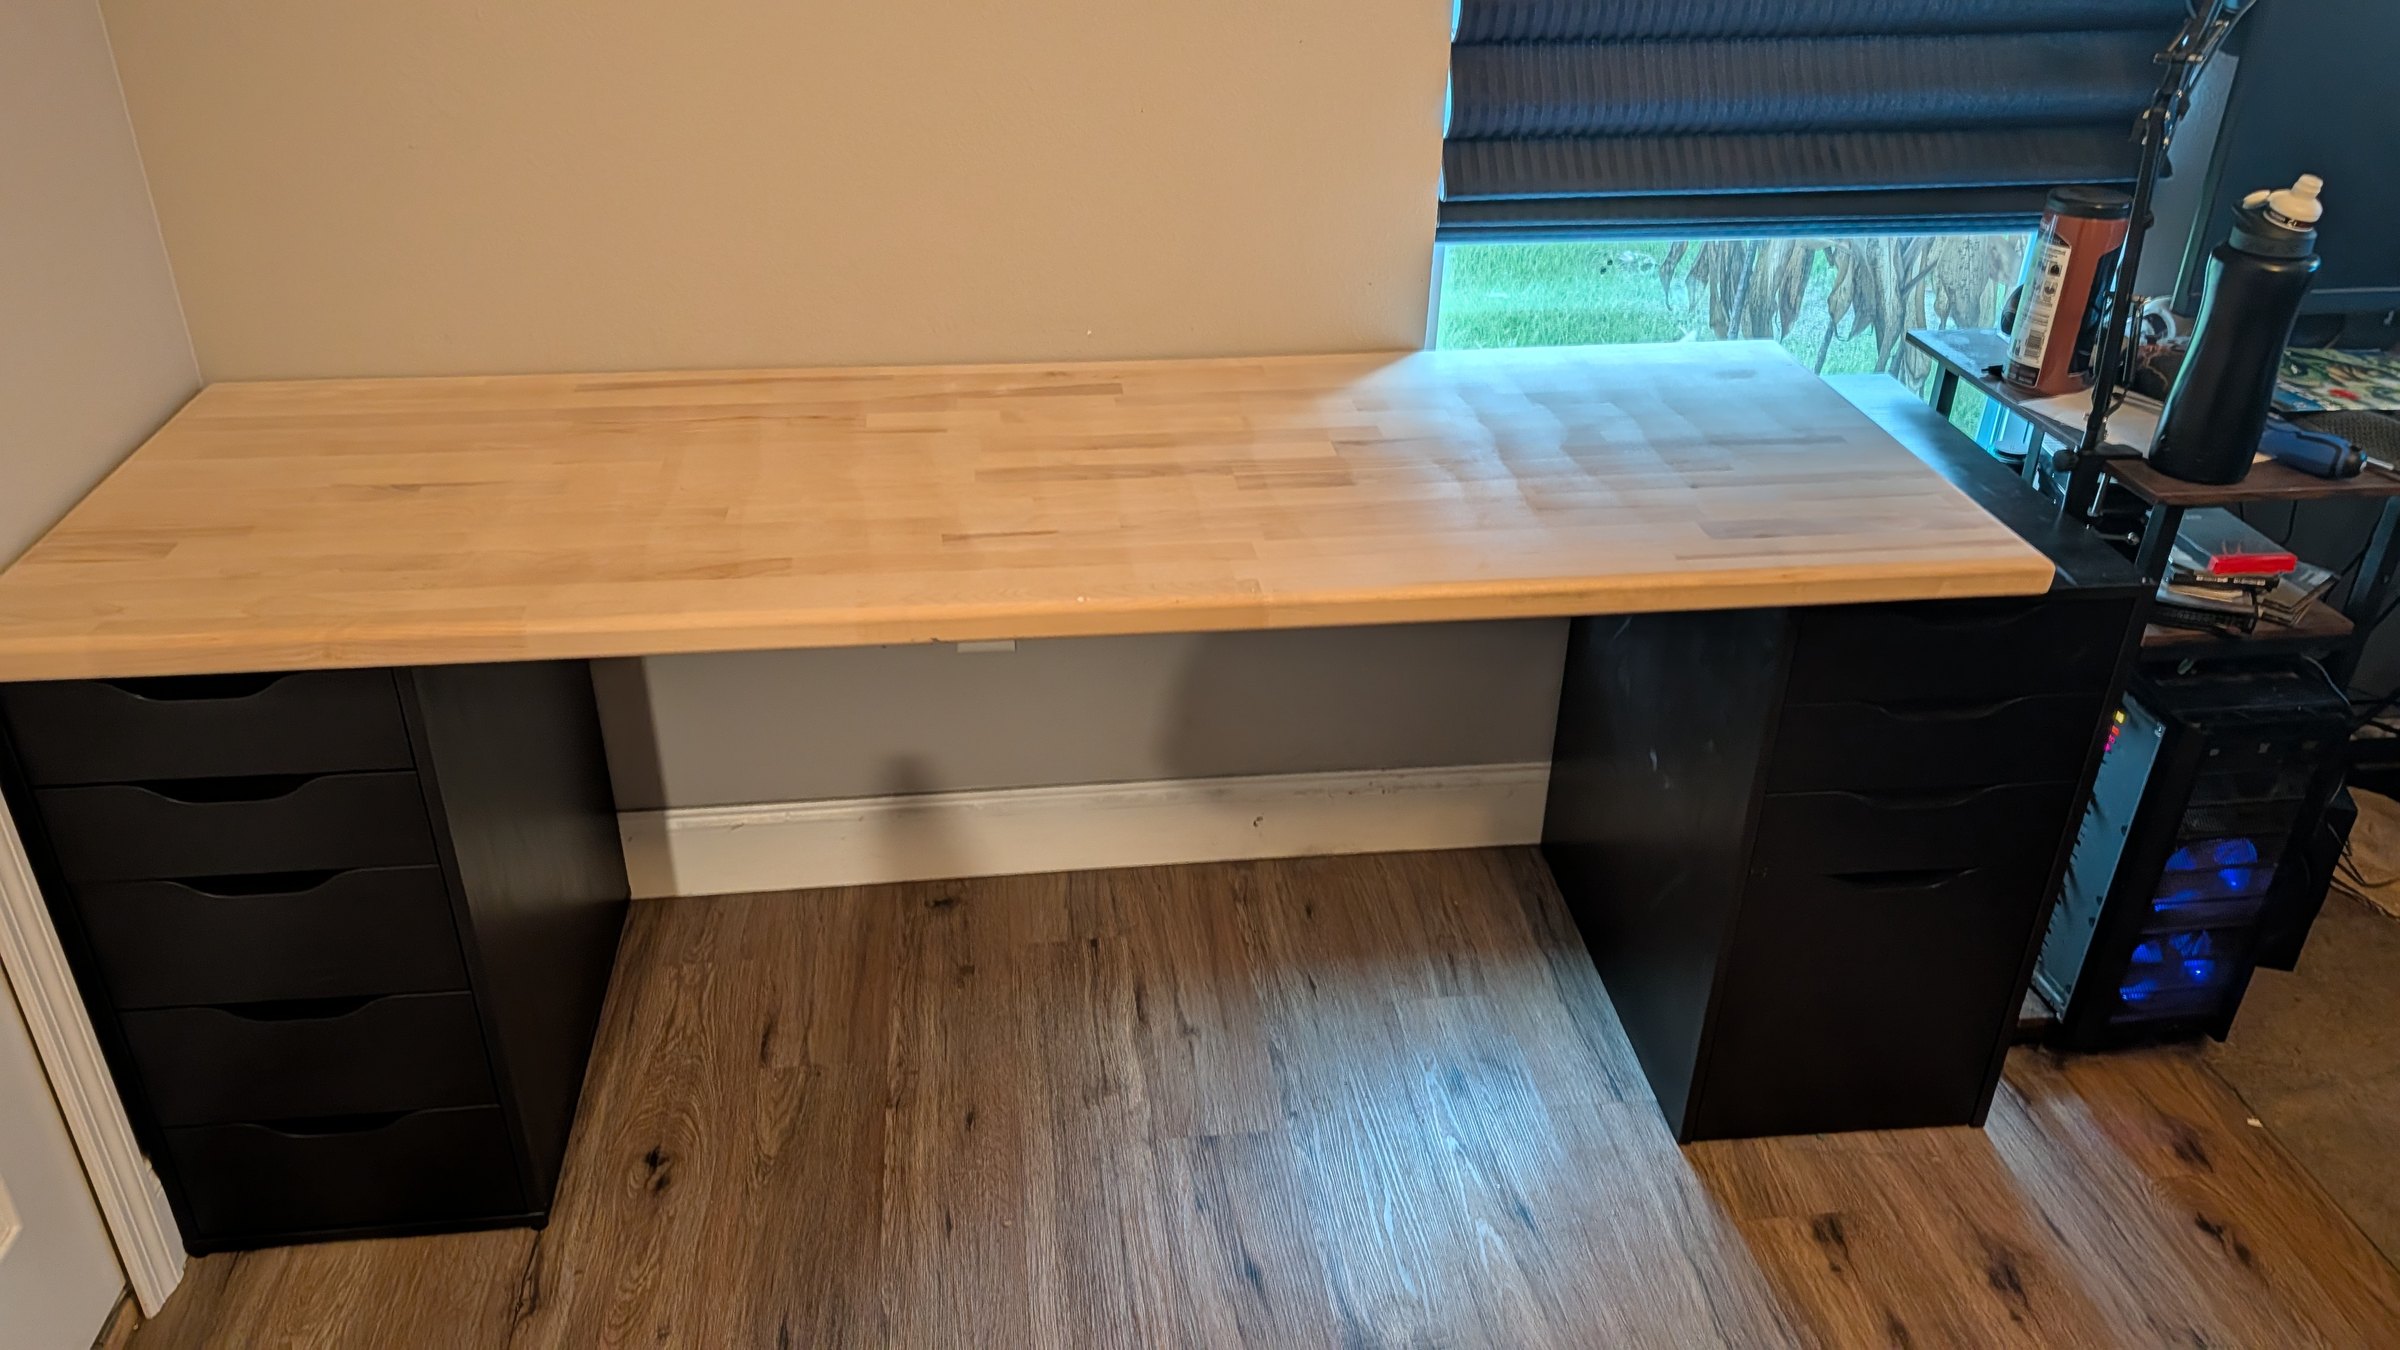
Before opening any finish, I placed the raw top on the drawer units. This confirmed the working height, overhang, drawer clearance, wall fit, and location of nearby equipment. It also provided a useful reality check: the pale raw birch already transformed the room.
4. Choosing a light-honey stain
I wanted warmth without turning the desk dark, so I selected Golden Oak. On this birch, it created a honey tone that kept the individual butcher-block pieces visible and contrasted well with the dark drawer bases.
I had pre-stain conditioner available and used the finishing process as a hedge against uneven color. There is an important product-specific nuance here: the current Varathane Premium Fast Dry Wood Stain documentation says that this particular stain does not require conditioner. That is why a test piece is more valuable than a universal rule. Wood, preparation, stain formula, temperature, and humidity all influence the result.
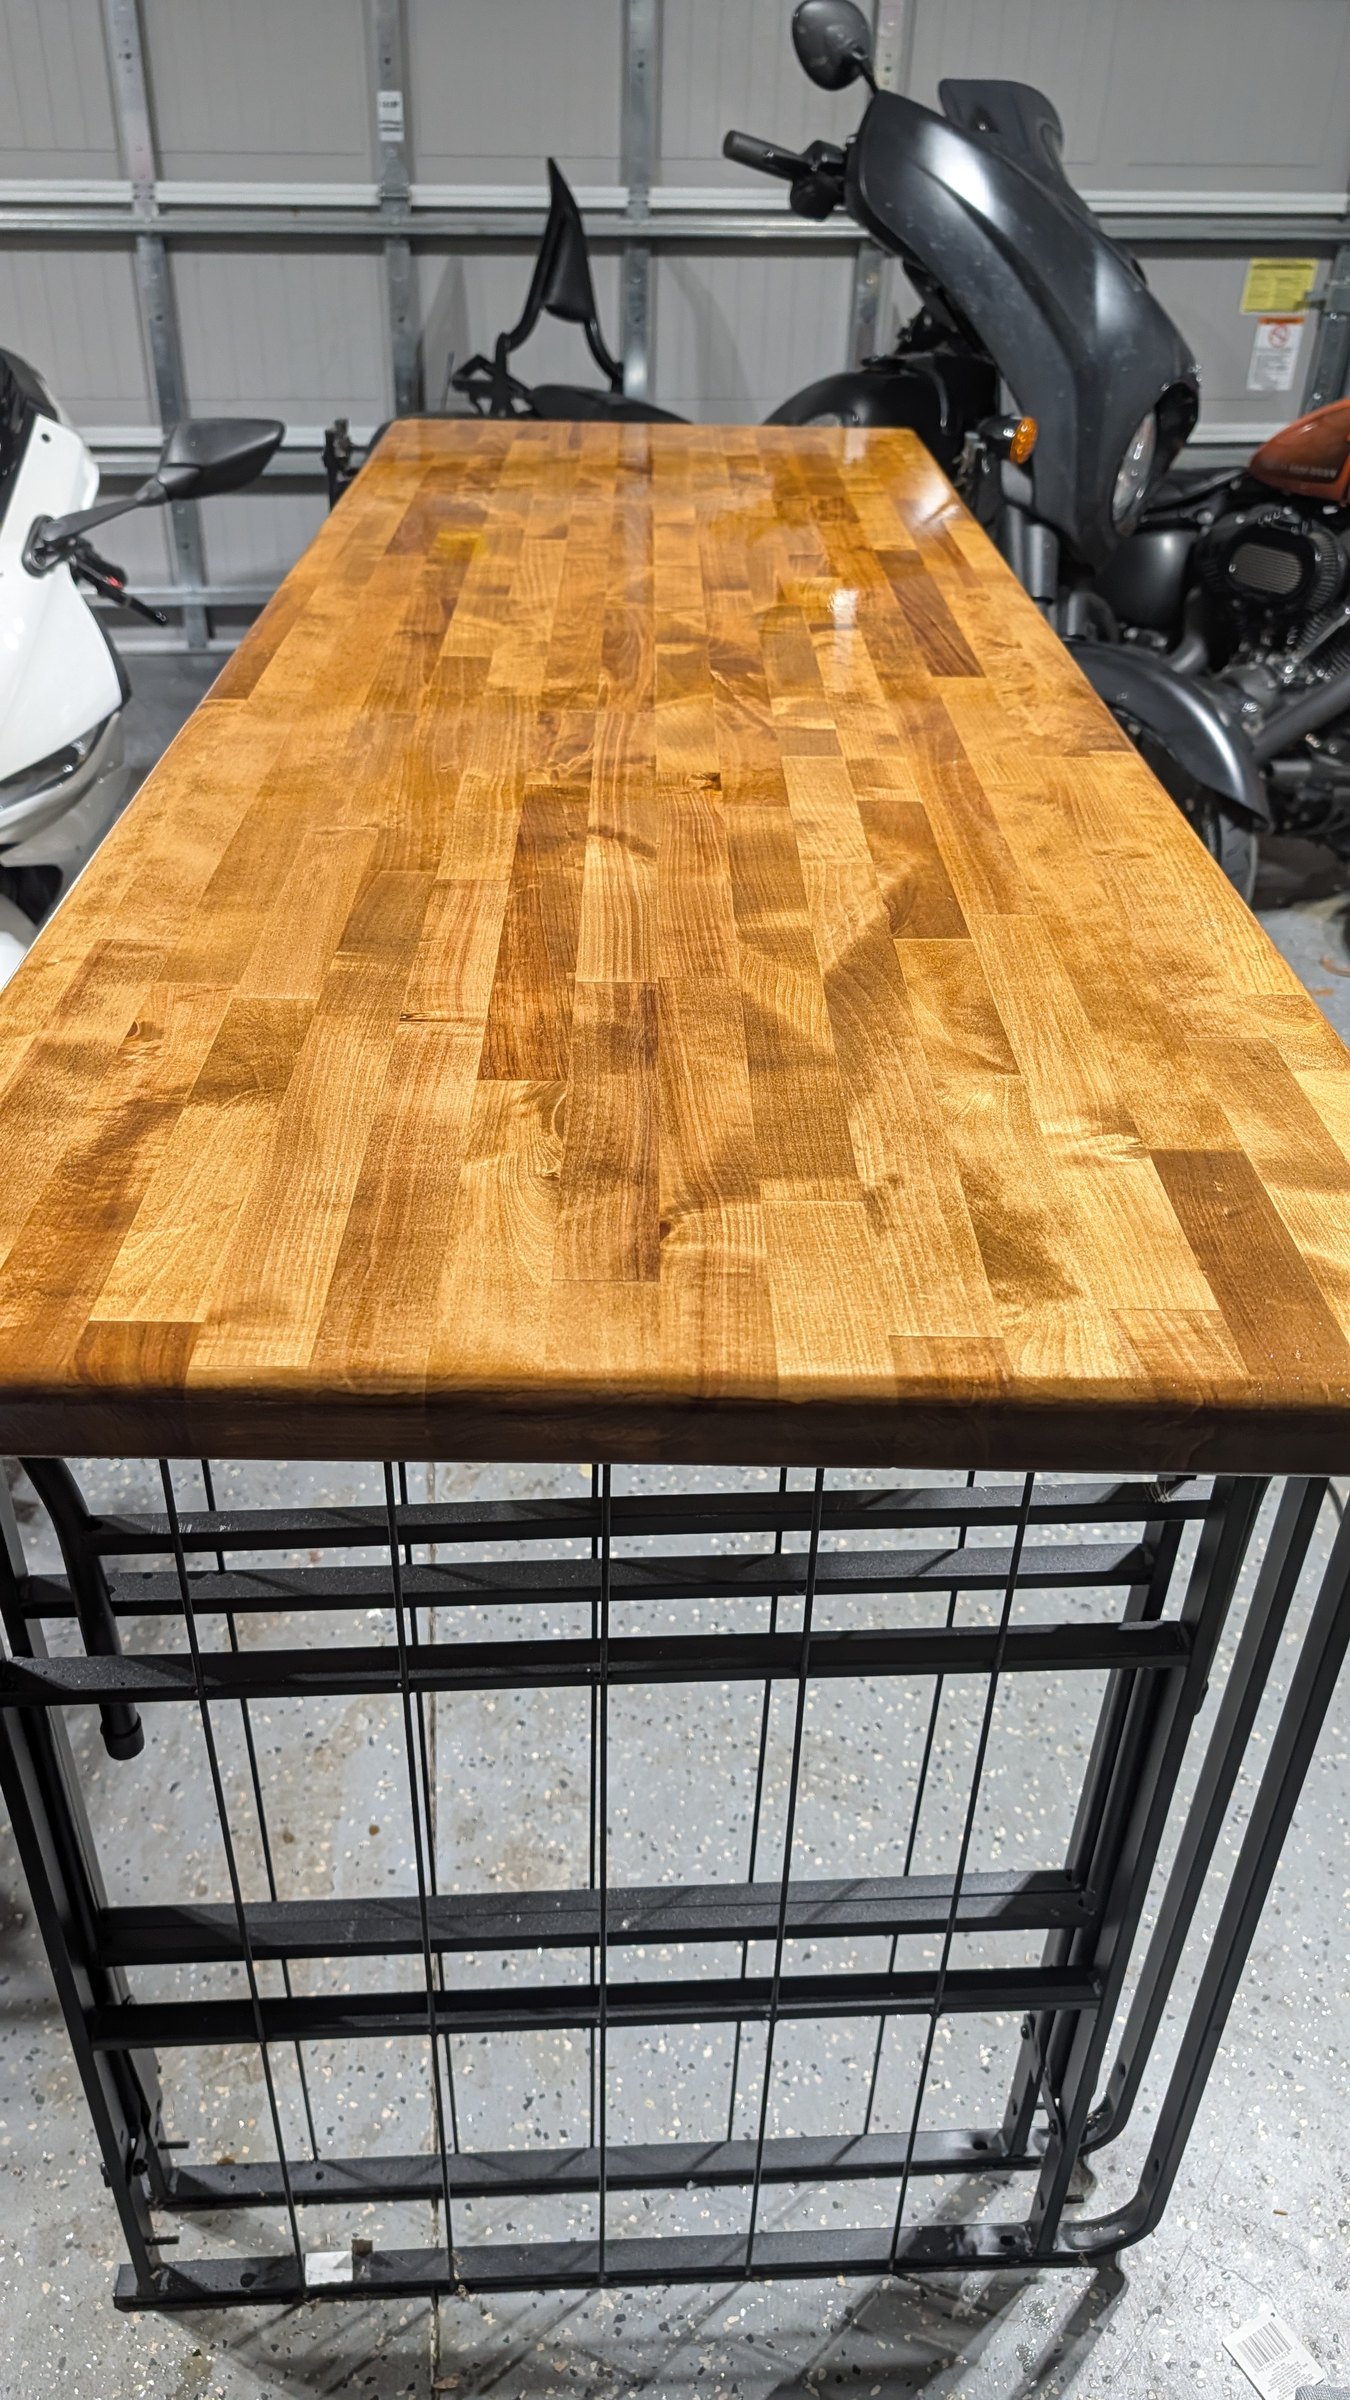
The stain went on in manageable sections and the excess was wiped away with the grain after a few minutes. Removing the excess is not cosmetic—it affects drying and topcoat adhesion. The manufacturer bases its one-hour dry time on controlled temperature and humidity, so I treated the clock as a minimum and the actual surface condition as the deciding factor.
5. Building the satin polyurethane finish
The protective finish became the most educational part of the project. I used three thin coats of satin oil-based polyurethane, allowing each coat to dry fully before preparing for the next.
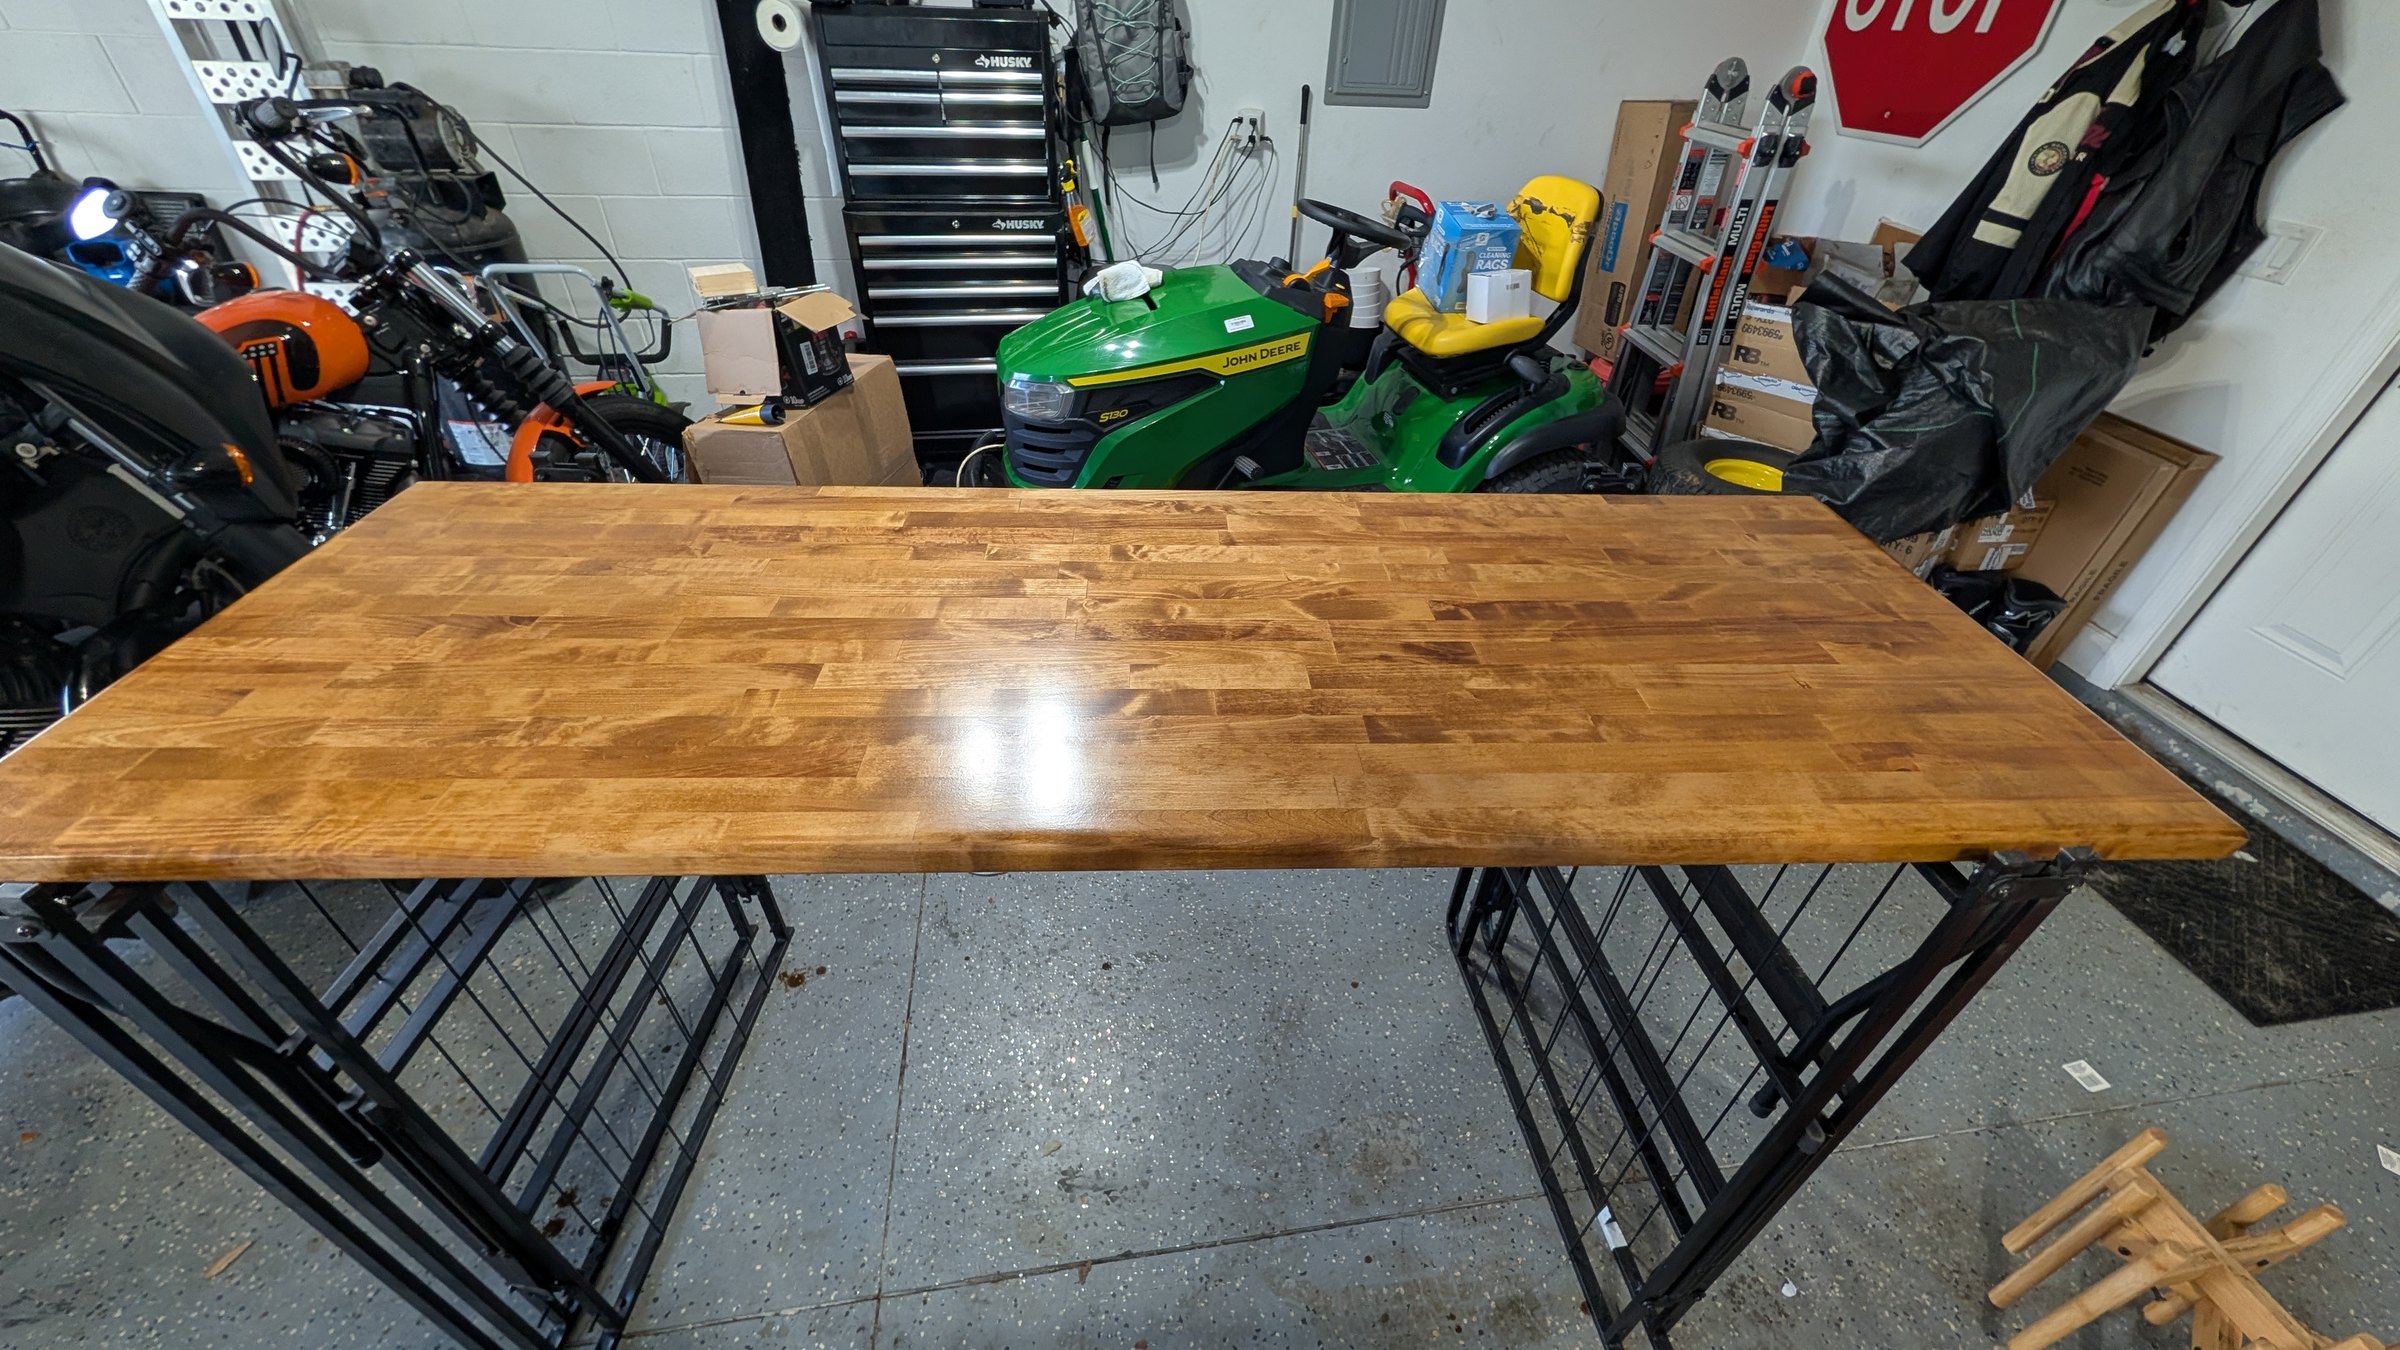
The first coat looked uneven
Some areas looked dull while others stayed glossy. The temptation was to brush over the dry-looking sections, but disturbing partially cured polyurethane can create permanent drag marks. I left it alone until the entire surface was dry, then prepared it for the next coat.
The second coat developed pooled spots
A few wet-looking high spots remained where the finish went on too heavily. Once fully dry, I leveled those areas gently by hand with paper wrapped around a small flat block. The block targeted the high point; fingertips alone could follow the bump and sand the surrounding finish instead. I stayed away from the orbital sander because cutting through the clear coat and stain would have created a much larger repair.
The final coat had dust nibs
A garage is not a clean room. Small airborne particles landed in the final coat and left tiny bumps. I waited for the finish to harden before touching them. That waiting period was just as important as the application: a finish can feel dry on top while remaining soft underneath.
Oil-finish safety is part of the build
Oil-based stain and polyurethane require ventilation, appropriate protective equipment, solvent-safe brush cleanup, and careful waste handling. Oil-soaked rags can heat up and ignite if they are piled together. The Varathane technical sheet directs users to place soaked waste immediately in a sealed, water-filled metal container and dispose of it according to local rules. Always follow the instructions and safety data for the exact products in use.
The finished first half
The first six-foot section delivered what I wanted: more usable depth and width, far more storage, a warmer surface, and a desk that feels permanent rather than improvised. The satin finish reflects enough light to show the grain without turning the desktop into a mirror.

What I learned before building Part 2
- Test the complete finish system on scrap. Color alone is not enough; the clear coat changes warmth and sheen.
- Protect the router exit. A backing piece and shallow passes are cheaper than repairing tear-out.
- Use raking light during prep. It exposes scratches and ridges before stain makes them permanent.
- Thin coats beat fast coats. Heavy polyurethane creates puddles, longer drying time, and extra leveling work.
- Temperature and humidity control the schedule. The label provides a baseline, but the surface has to be genuinely dry before sanding or recoating.
- Plan for curing, not only drying. I allowed additional time before adding heavy equipment and clamping down a monitor mount.
- Take process photos deliberately. Part 2 will document tool setup, stain tests, coat thickness, and final assembly more clearly.
What Part 2 will cover
The second six-foot section will complete the 12-foot run. I will repeat the successful parts of this process, correct the edge-routing and finish-control problems, capture more targeted photos, align the two sections, and finish the cable-management plan. Part 1 proved the design; Part 2 is where the process becomes repeatable.
Product references
Drying times and application methods vary by product and conditions. For this build, I referenced the official Varathane Premium Fast Dry Wood Stain technical data and Minwax Fast-Drying Polyurethane instructions. Read the current label and safety data for the exact container you purchase.