
The plan sounded simple: take down a shed, load it into a truck, drive it an hour home, rebuild it, and finally give the lawn mower a place to live. The shed made the trip. The ground had other plans.
PACKET’S PROJECT ESTIMATE
Step one: acquire shed. Step two: put mower in shed. Packet did not budget time for geometry, soil, compaction, or the alarming size of a lawn mower once walls are involved.
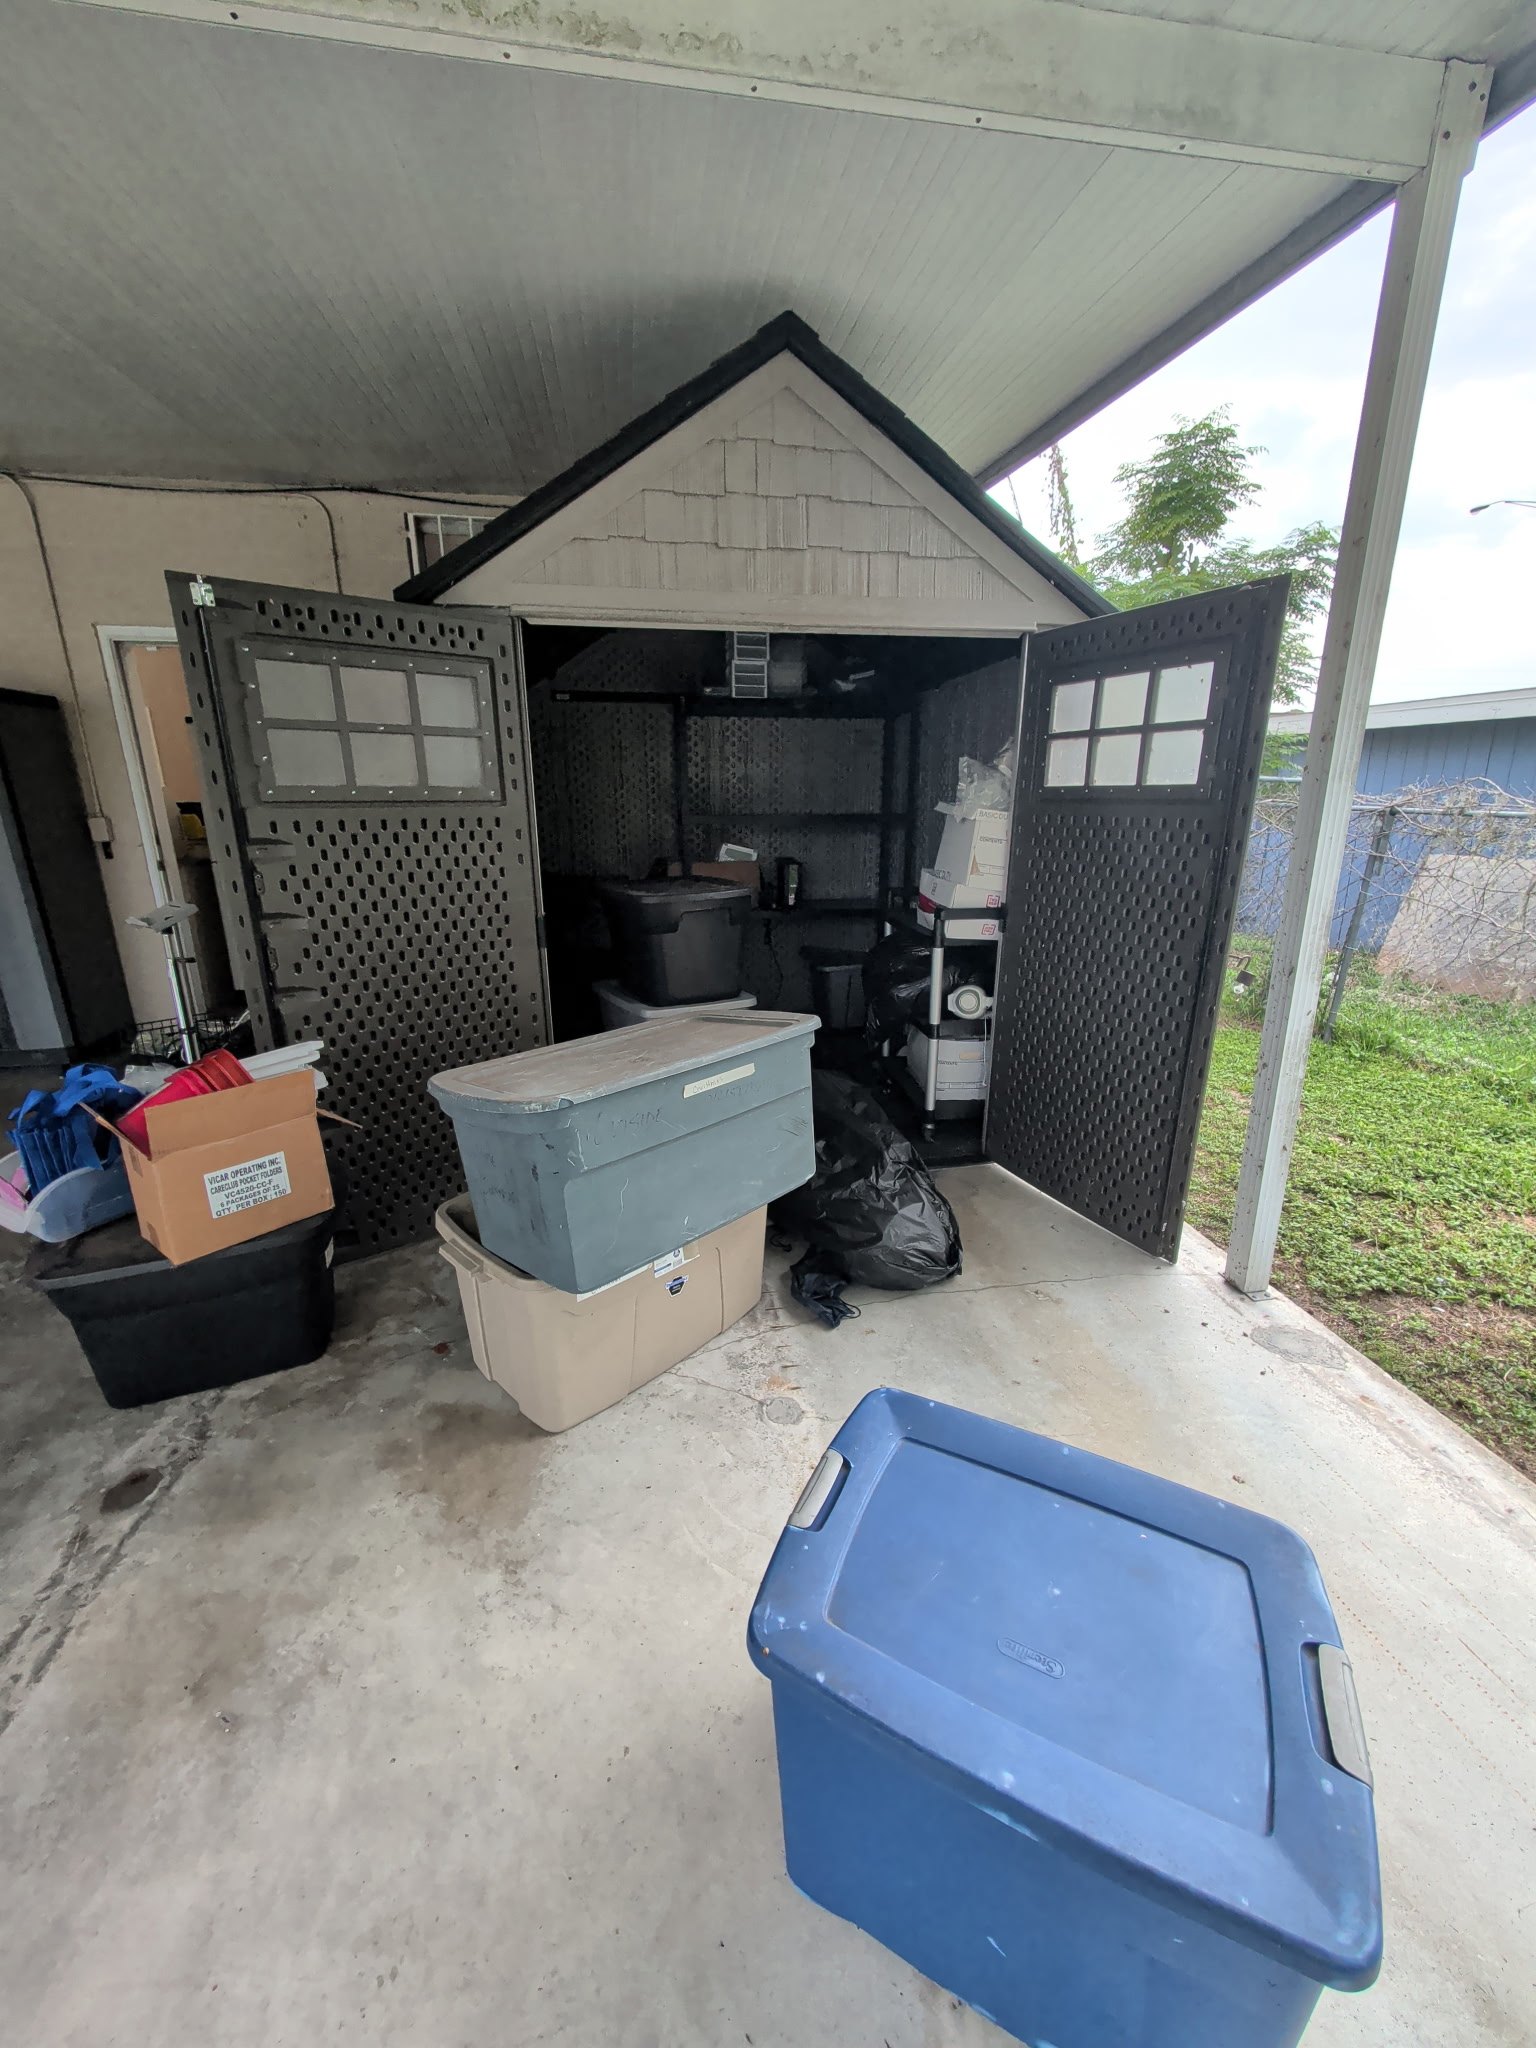
Step one: move an entire building
The shed started at another location, which meant the first construction task was actually deconstruction. Every panel, roof section, door, and fastener had to survive handling, the truck ride, unloading, and another round of assembly. Going slowly during teardown was faster than trying to repair a rushed mistake later.
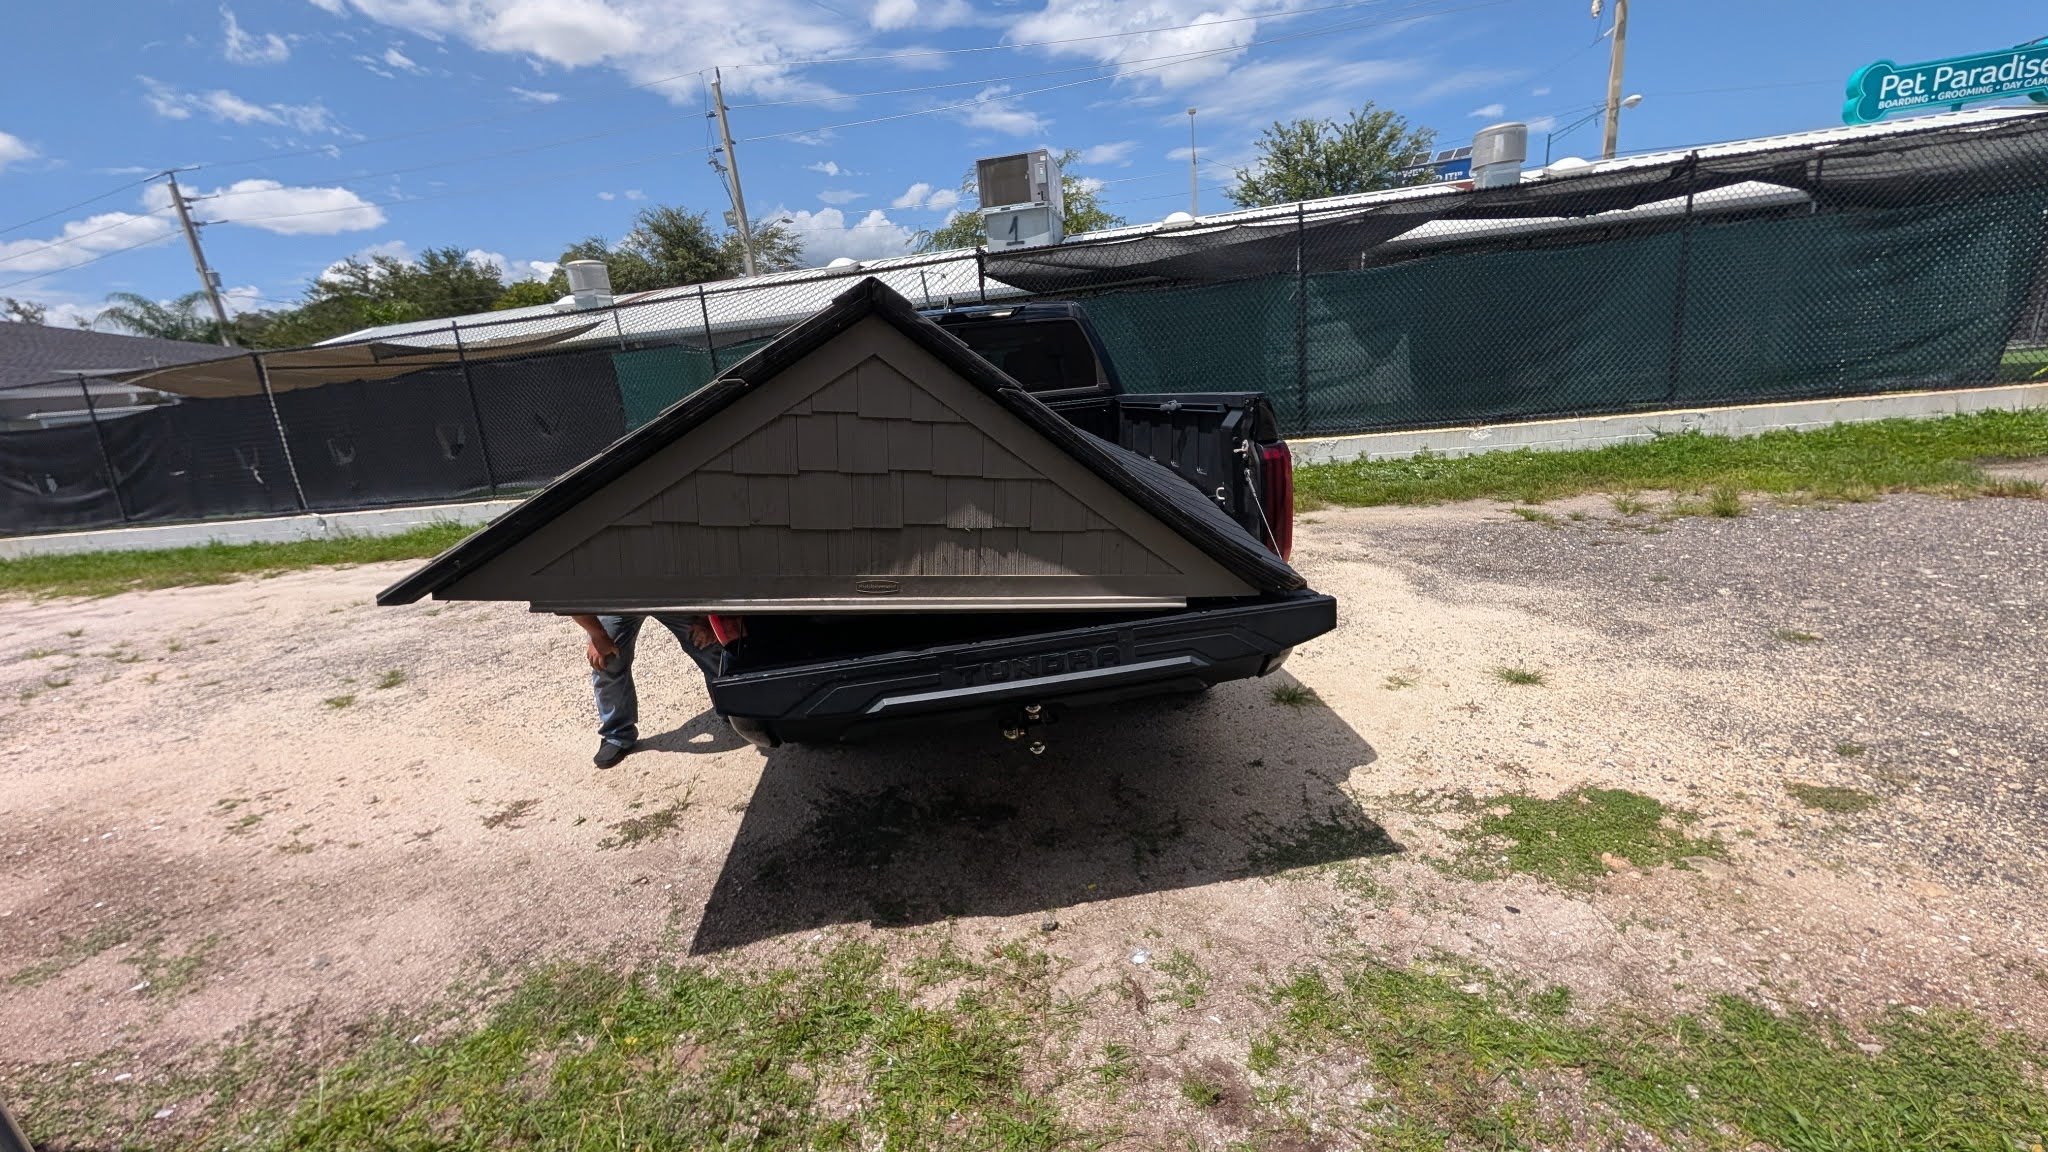
Photos became part of the memory system. They recorded how the pieces met and what the assembled structure was supposed to look like. Then the roof section went into the truck for the hour-long trip home.
The ground changed the job
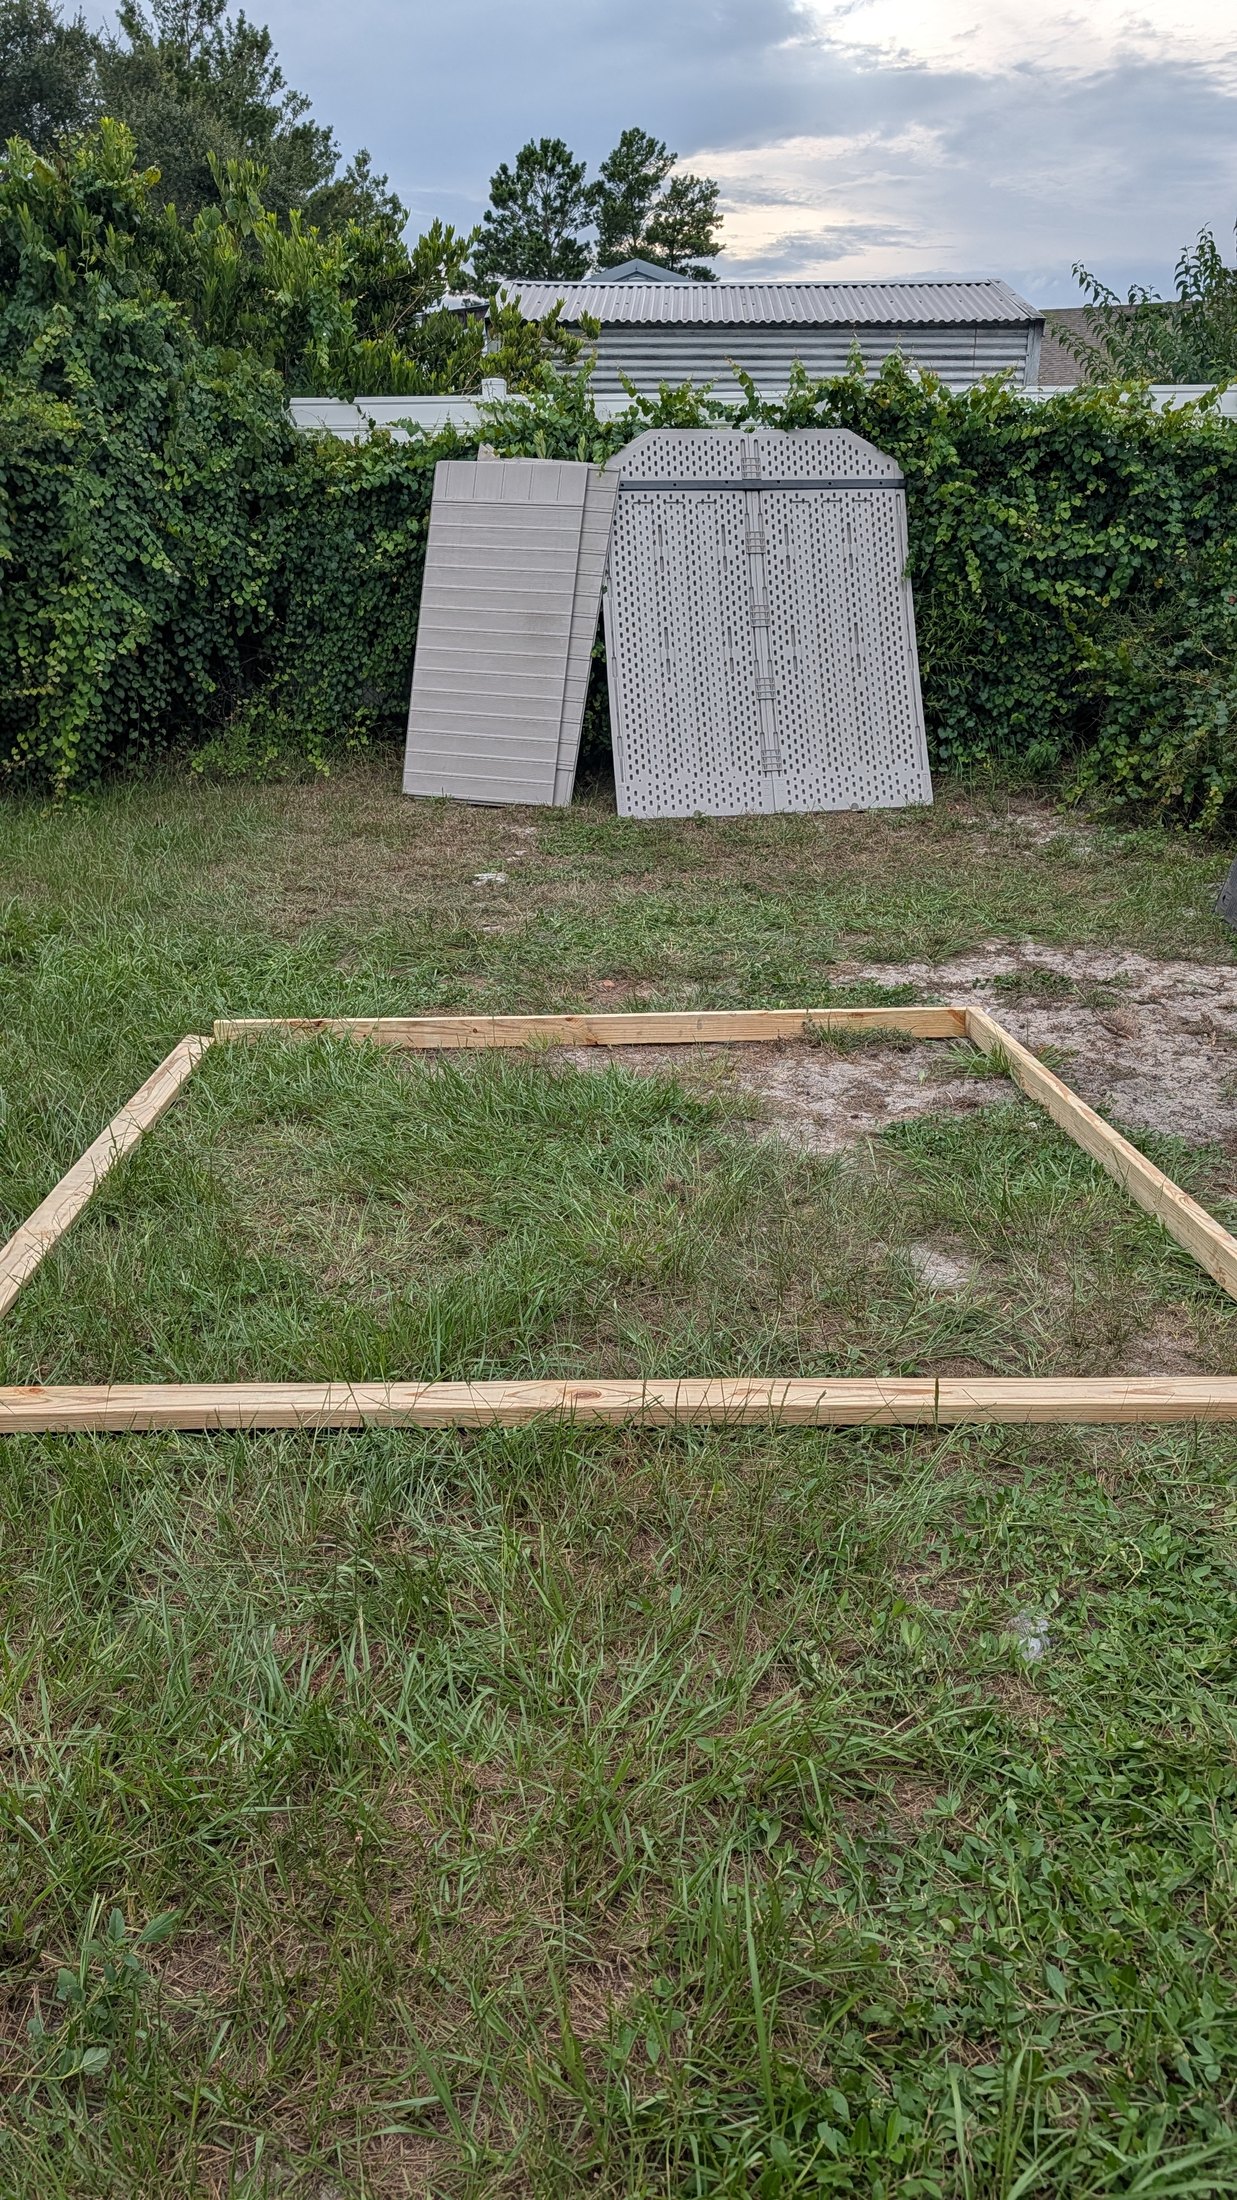
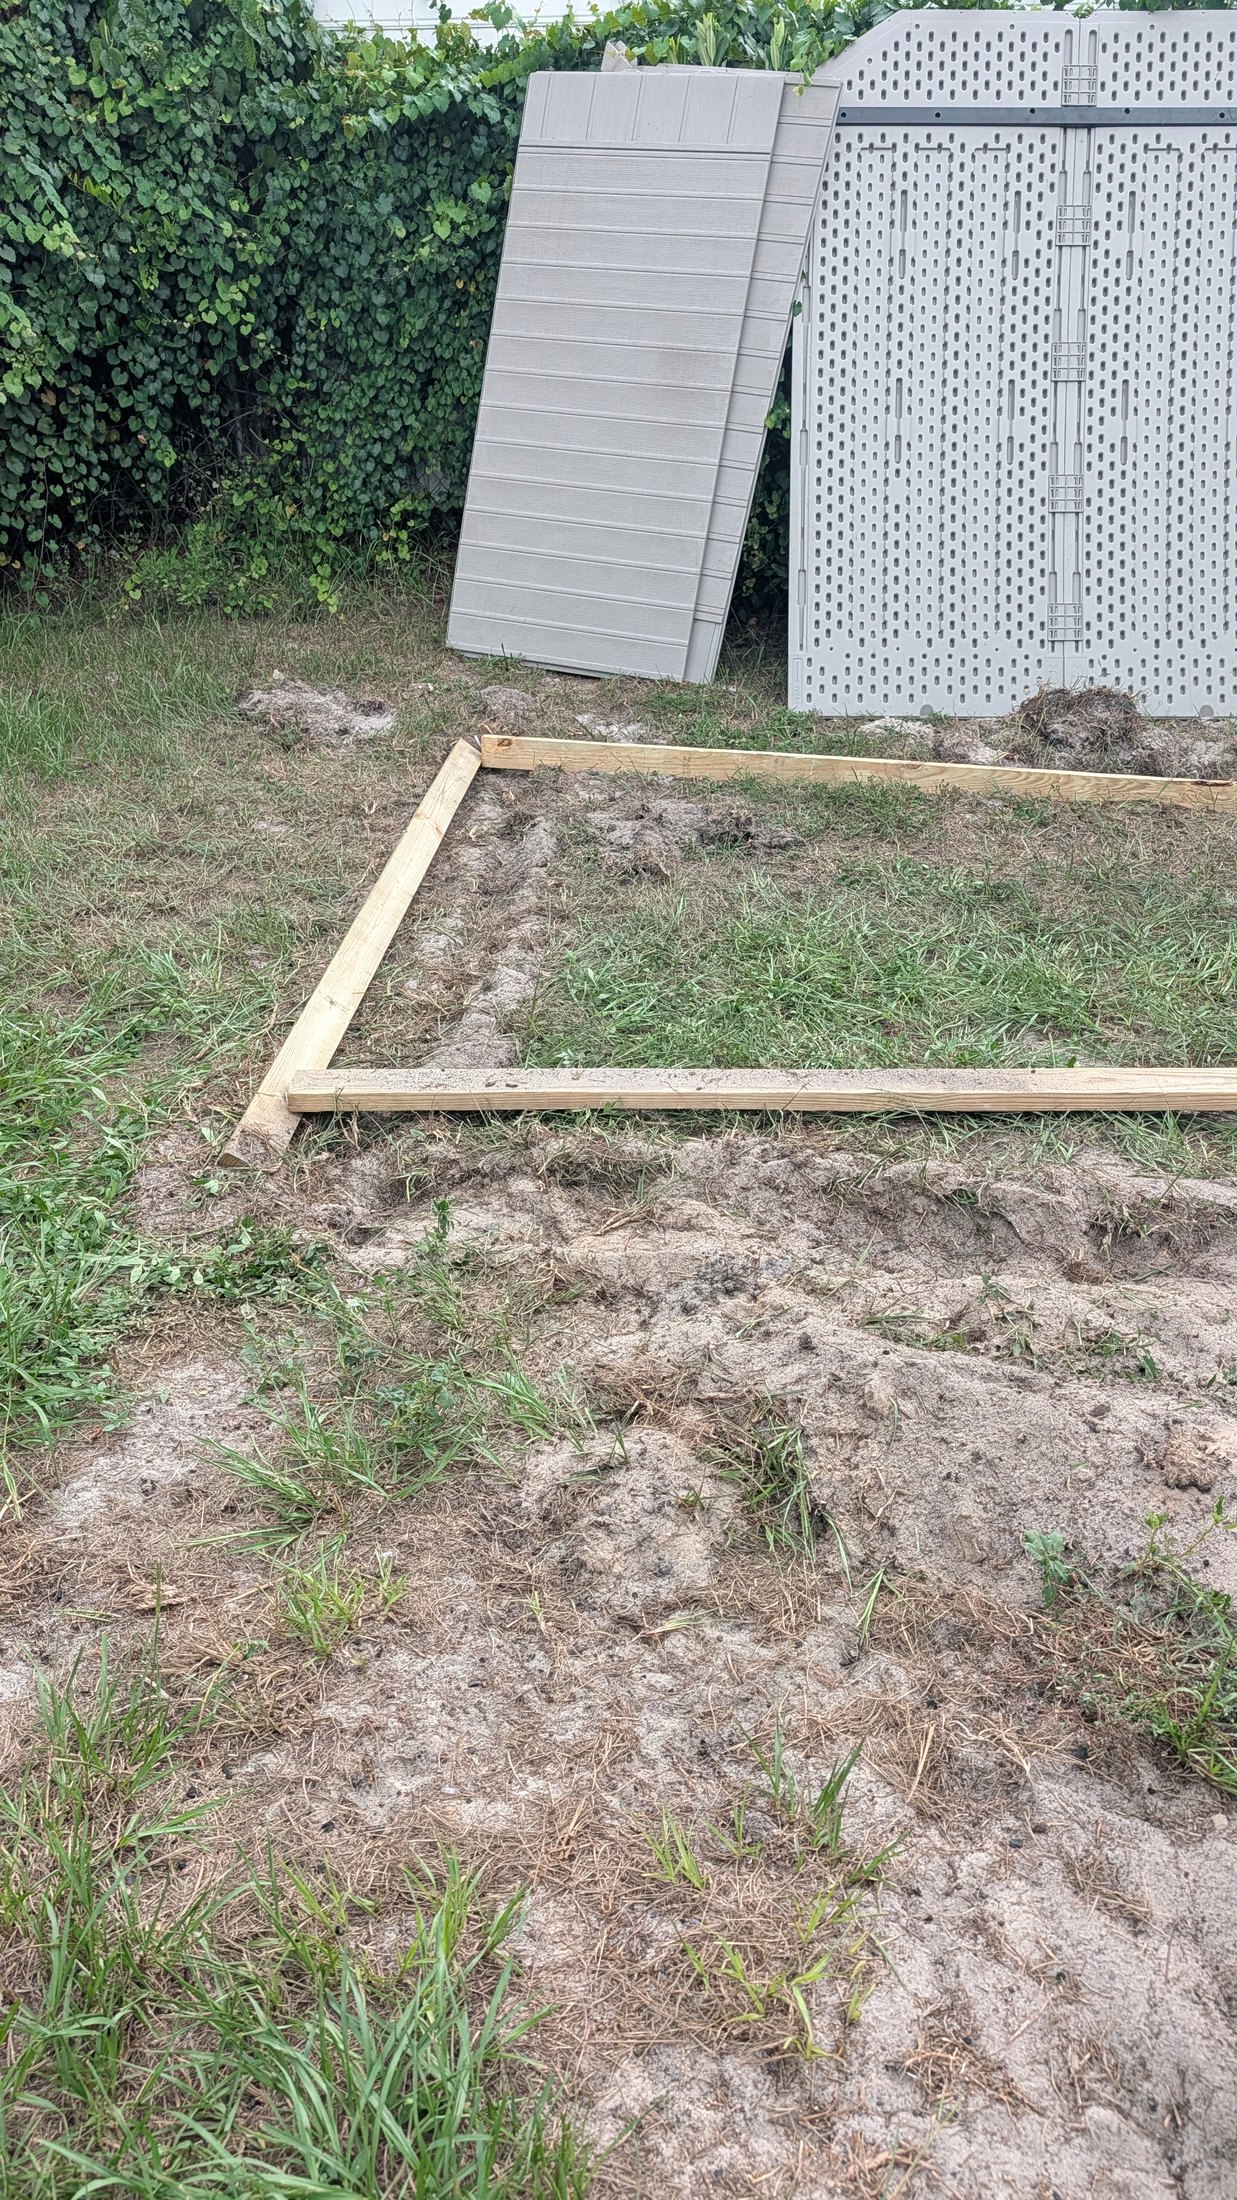
At home, the hidden requirement became obvious. The yard was not level, and the shed’s molded rubber floor needed a flat, stable surface. The building could be forced together on uneven ground, but the twist would move into the walls, doors, roof, and floor. A shed that begins crooked does not become straighter as more pieces are attached.
PING’S STATUS CHANGE
Original monitor: “Can the shed make it home?” New monitor: “Can the ground hold the shed square and keep it that way?” This was no longer an assembly job. It was a foundation job.
Stop building and build the base
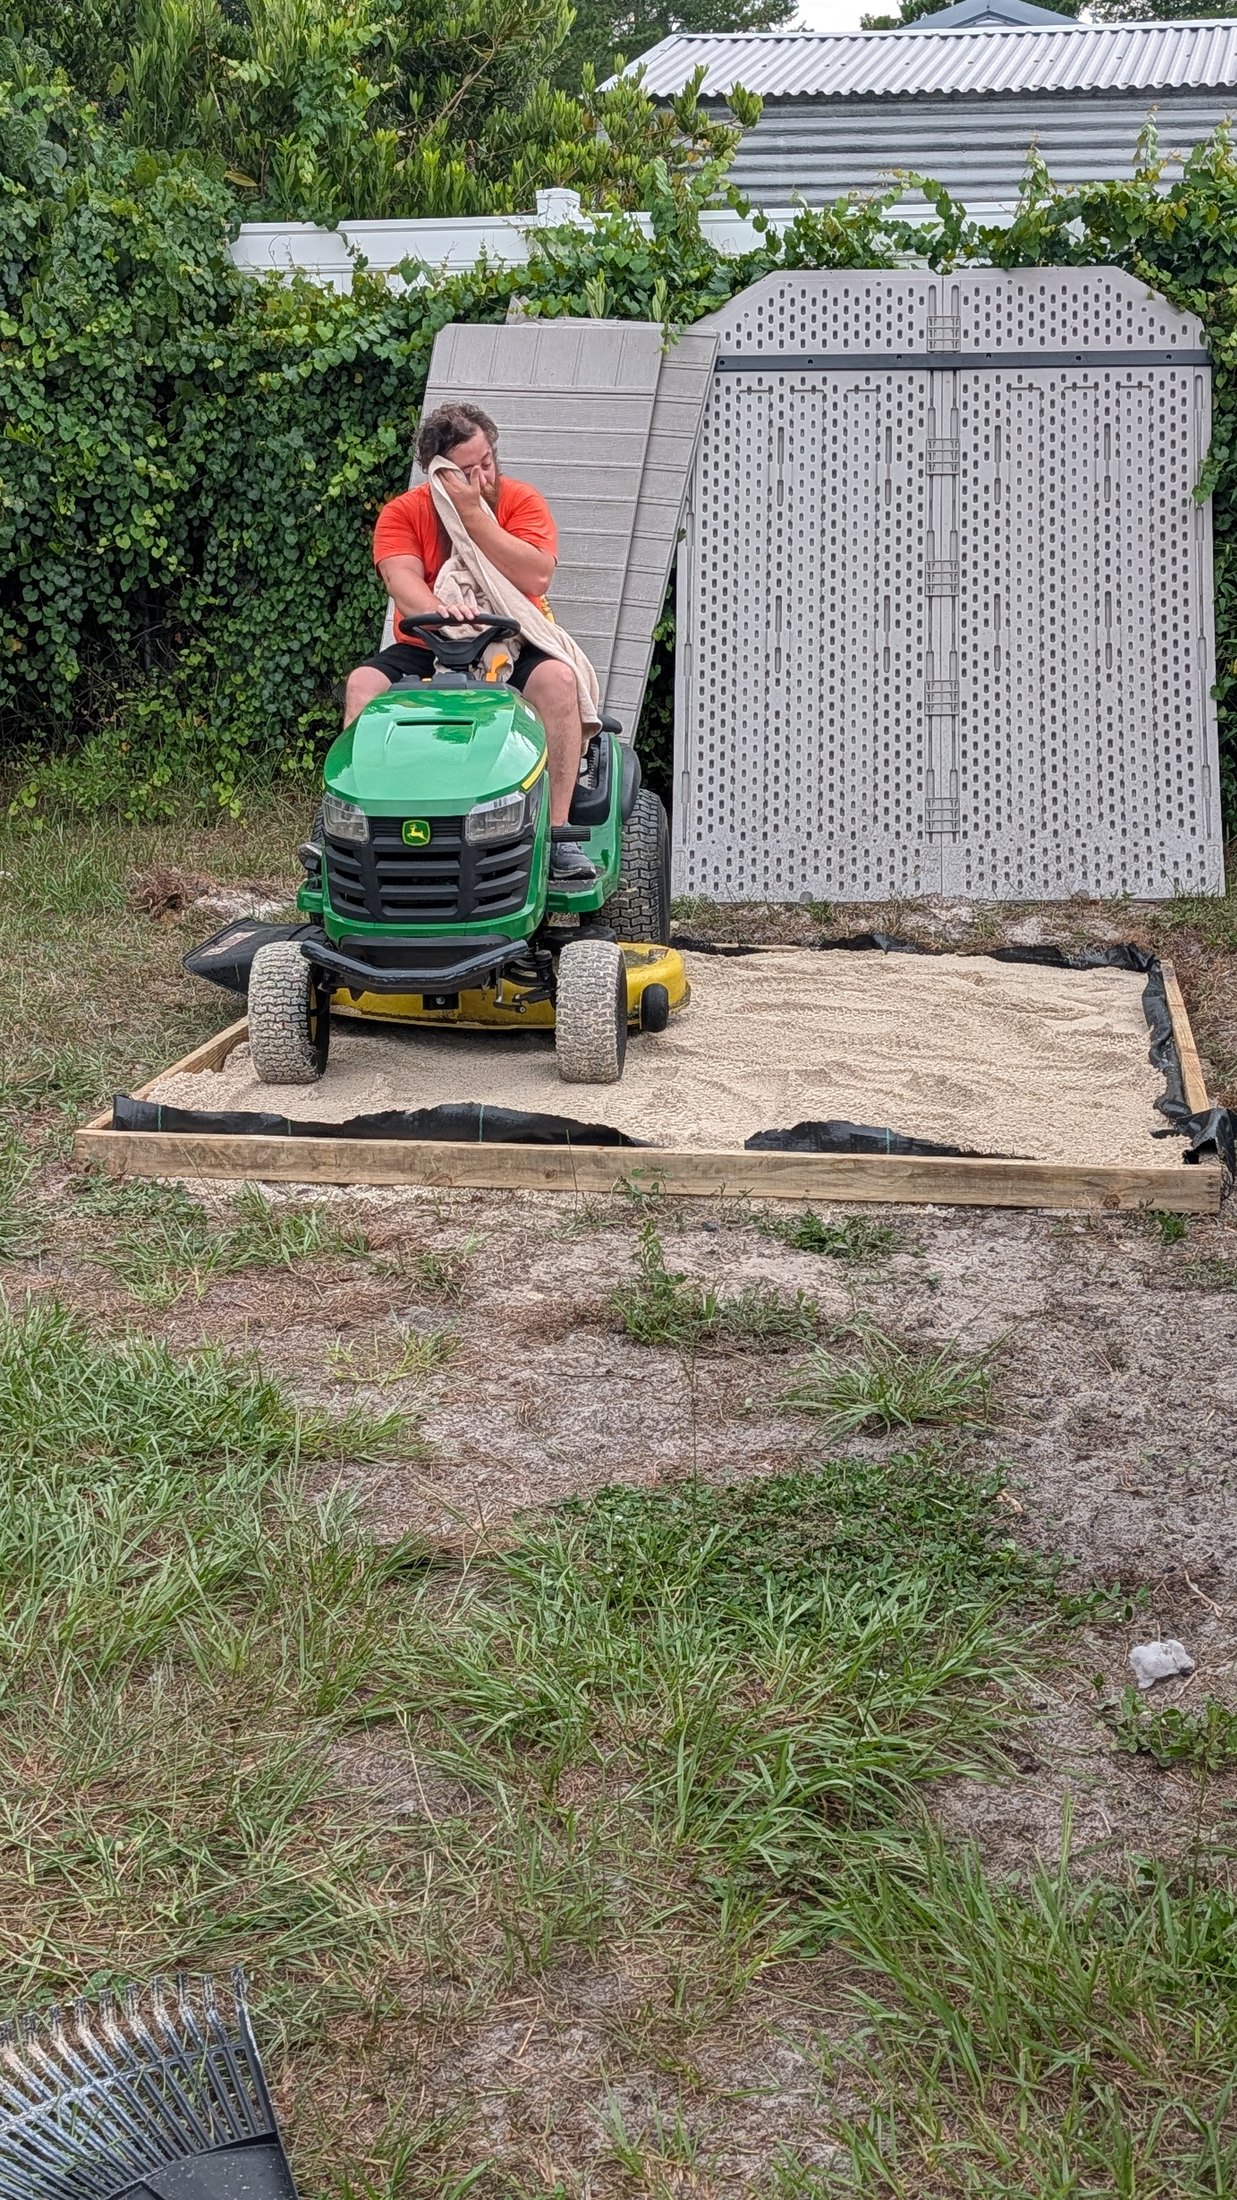
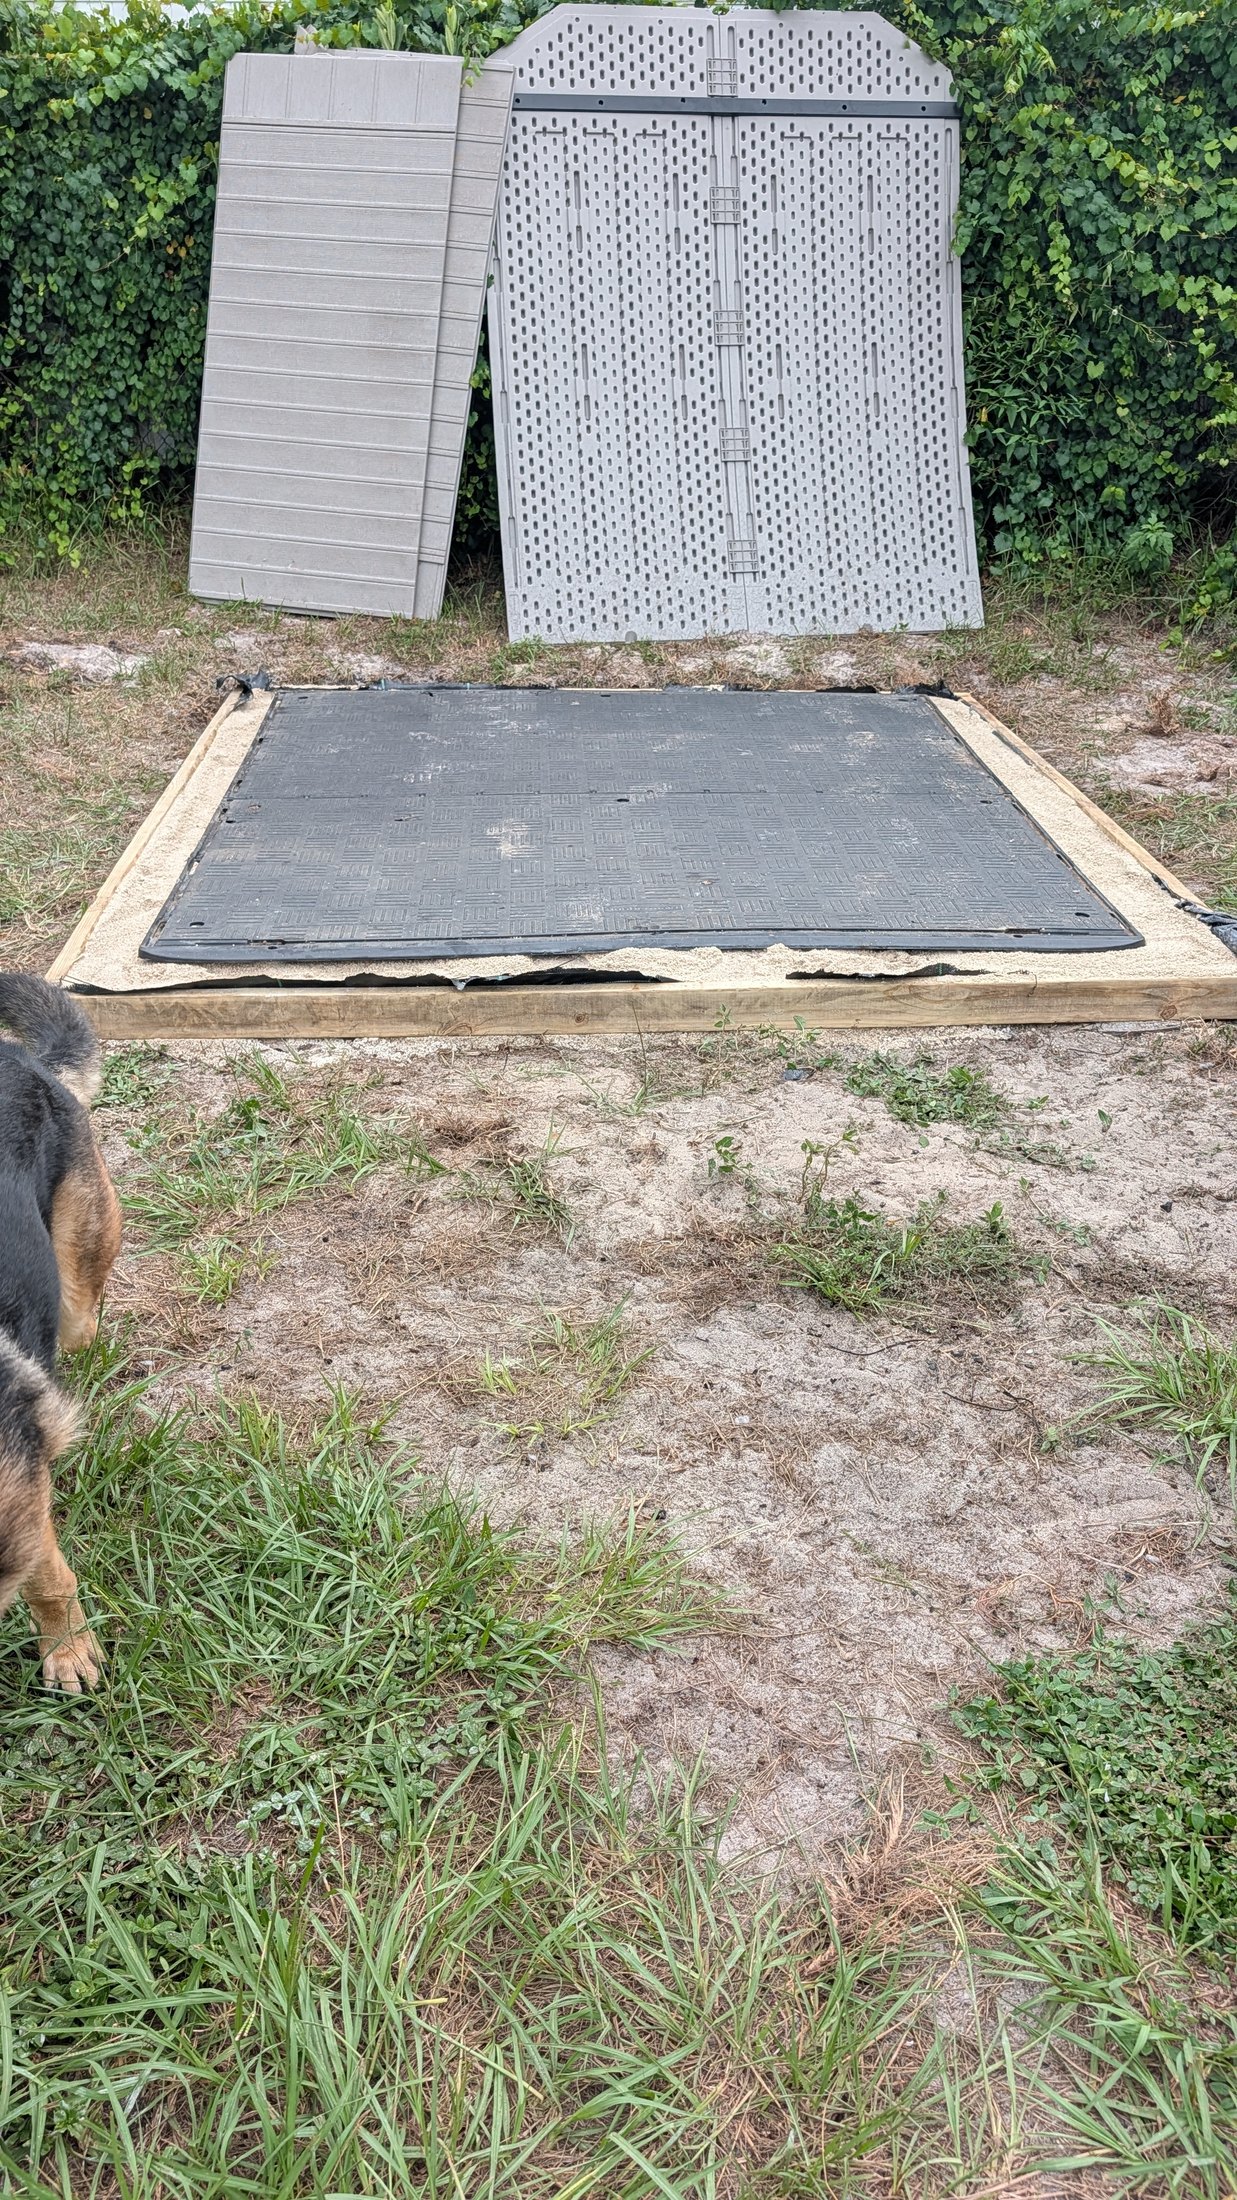
The right response was to stop treating the surface as a small inconvenience. We marked the actual footprint, framed the perimeter, removed and redistributed material, and worked into the evening preparing a bed of paver base. The goal was simple: support the entire rubber floor instead of balancing it on a few hopeful high spots.
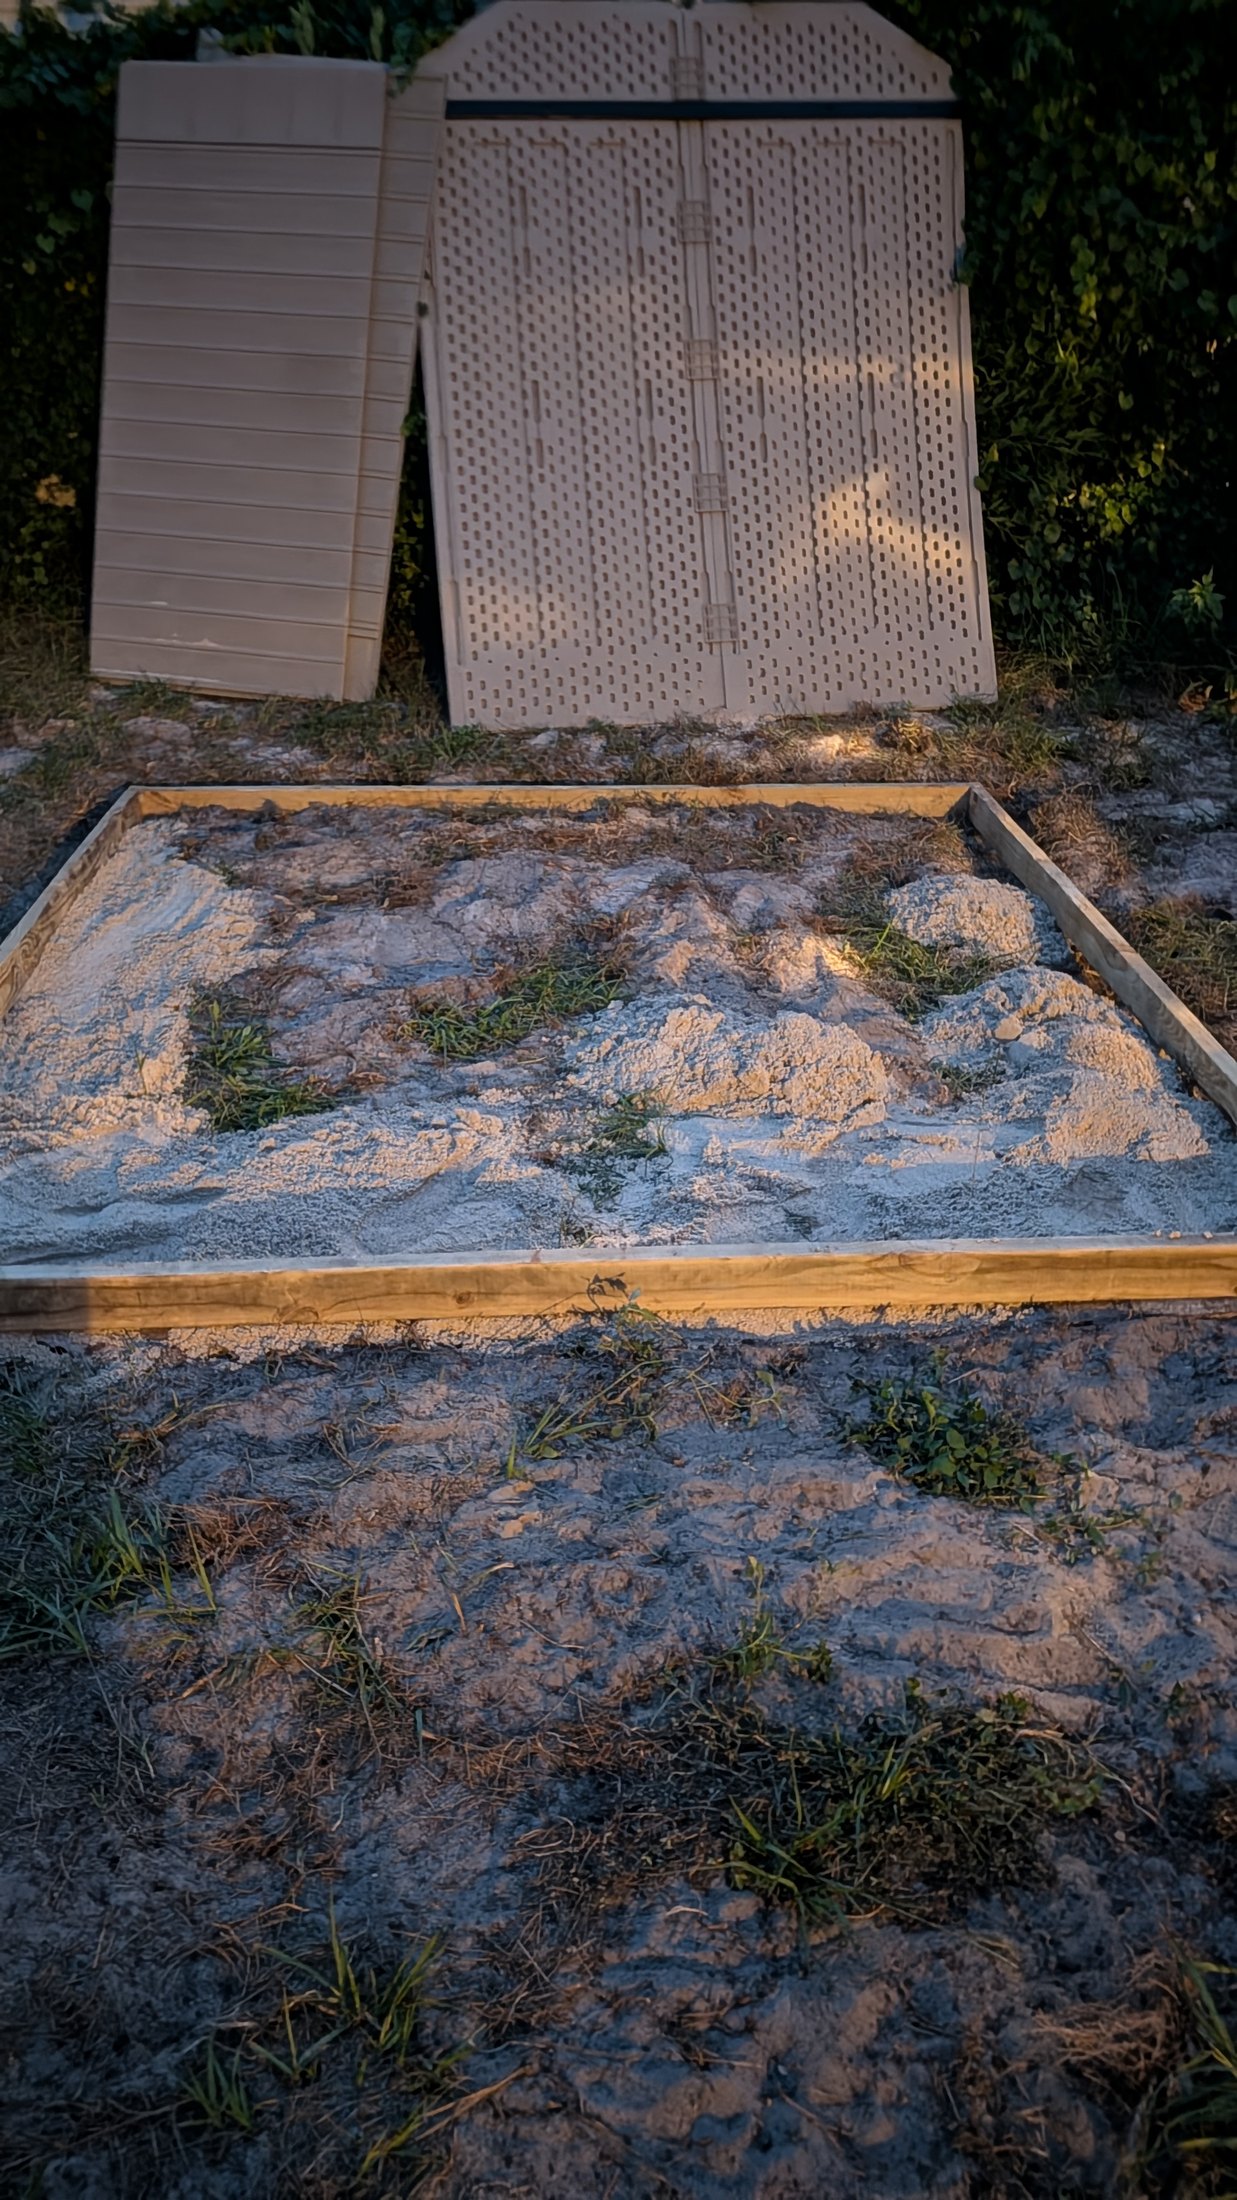
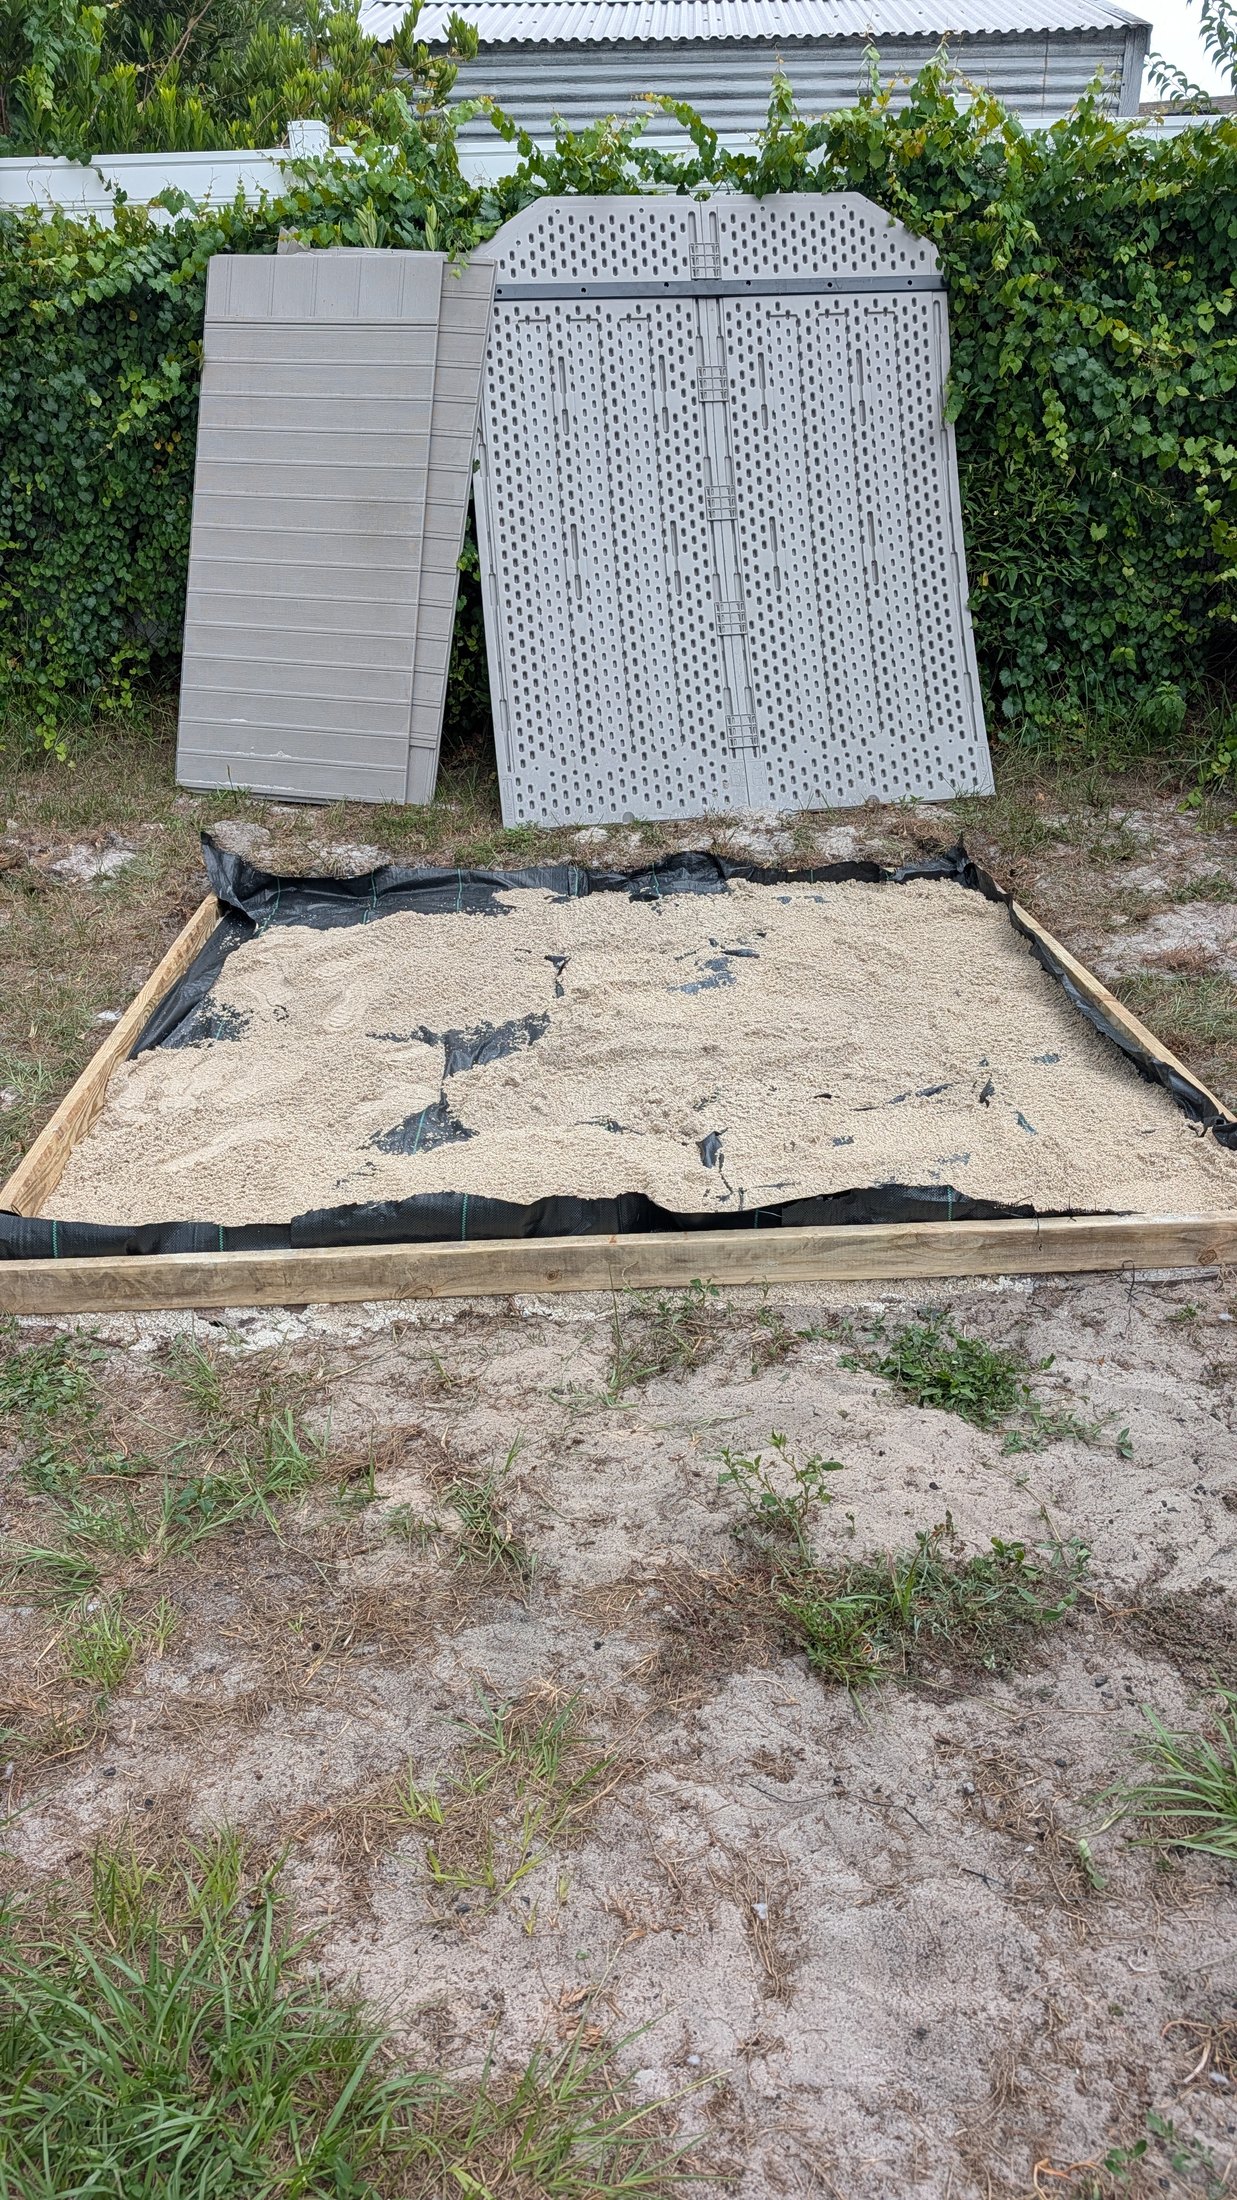
- Lay out the shed’s real footprint at the destination.
- Measure the slope instead of trusting how the yard looks.
- Frame the area and add paver base where support is missing.
- Compact, check, adjust, and check again in multiple directions.
- Resume assembly only after the full floor has dependable support.
PATCH’S CHANGE ORDER
A stable base was not extra decoration. It was the missing dependency. Fixing that dependency first gave every panel, fastener, door, and roof connection a better chance of lining up correctly.
Compaction, with questionable equipment
The base needed to settle evenly, and the heaviest convenient object with wheels was already nearby. The mower became an improvised load test while Ping and Packet supervised with the confidence of inspectors who would not be completing the paperwork.
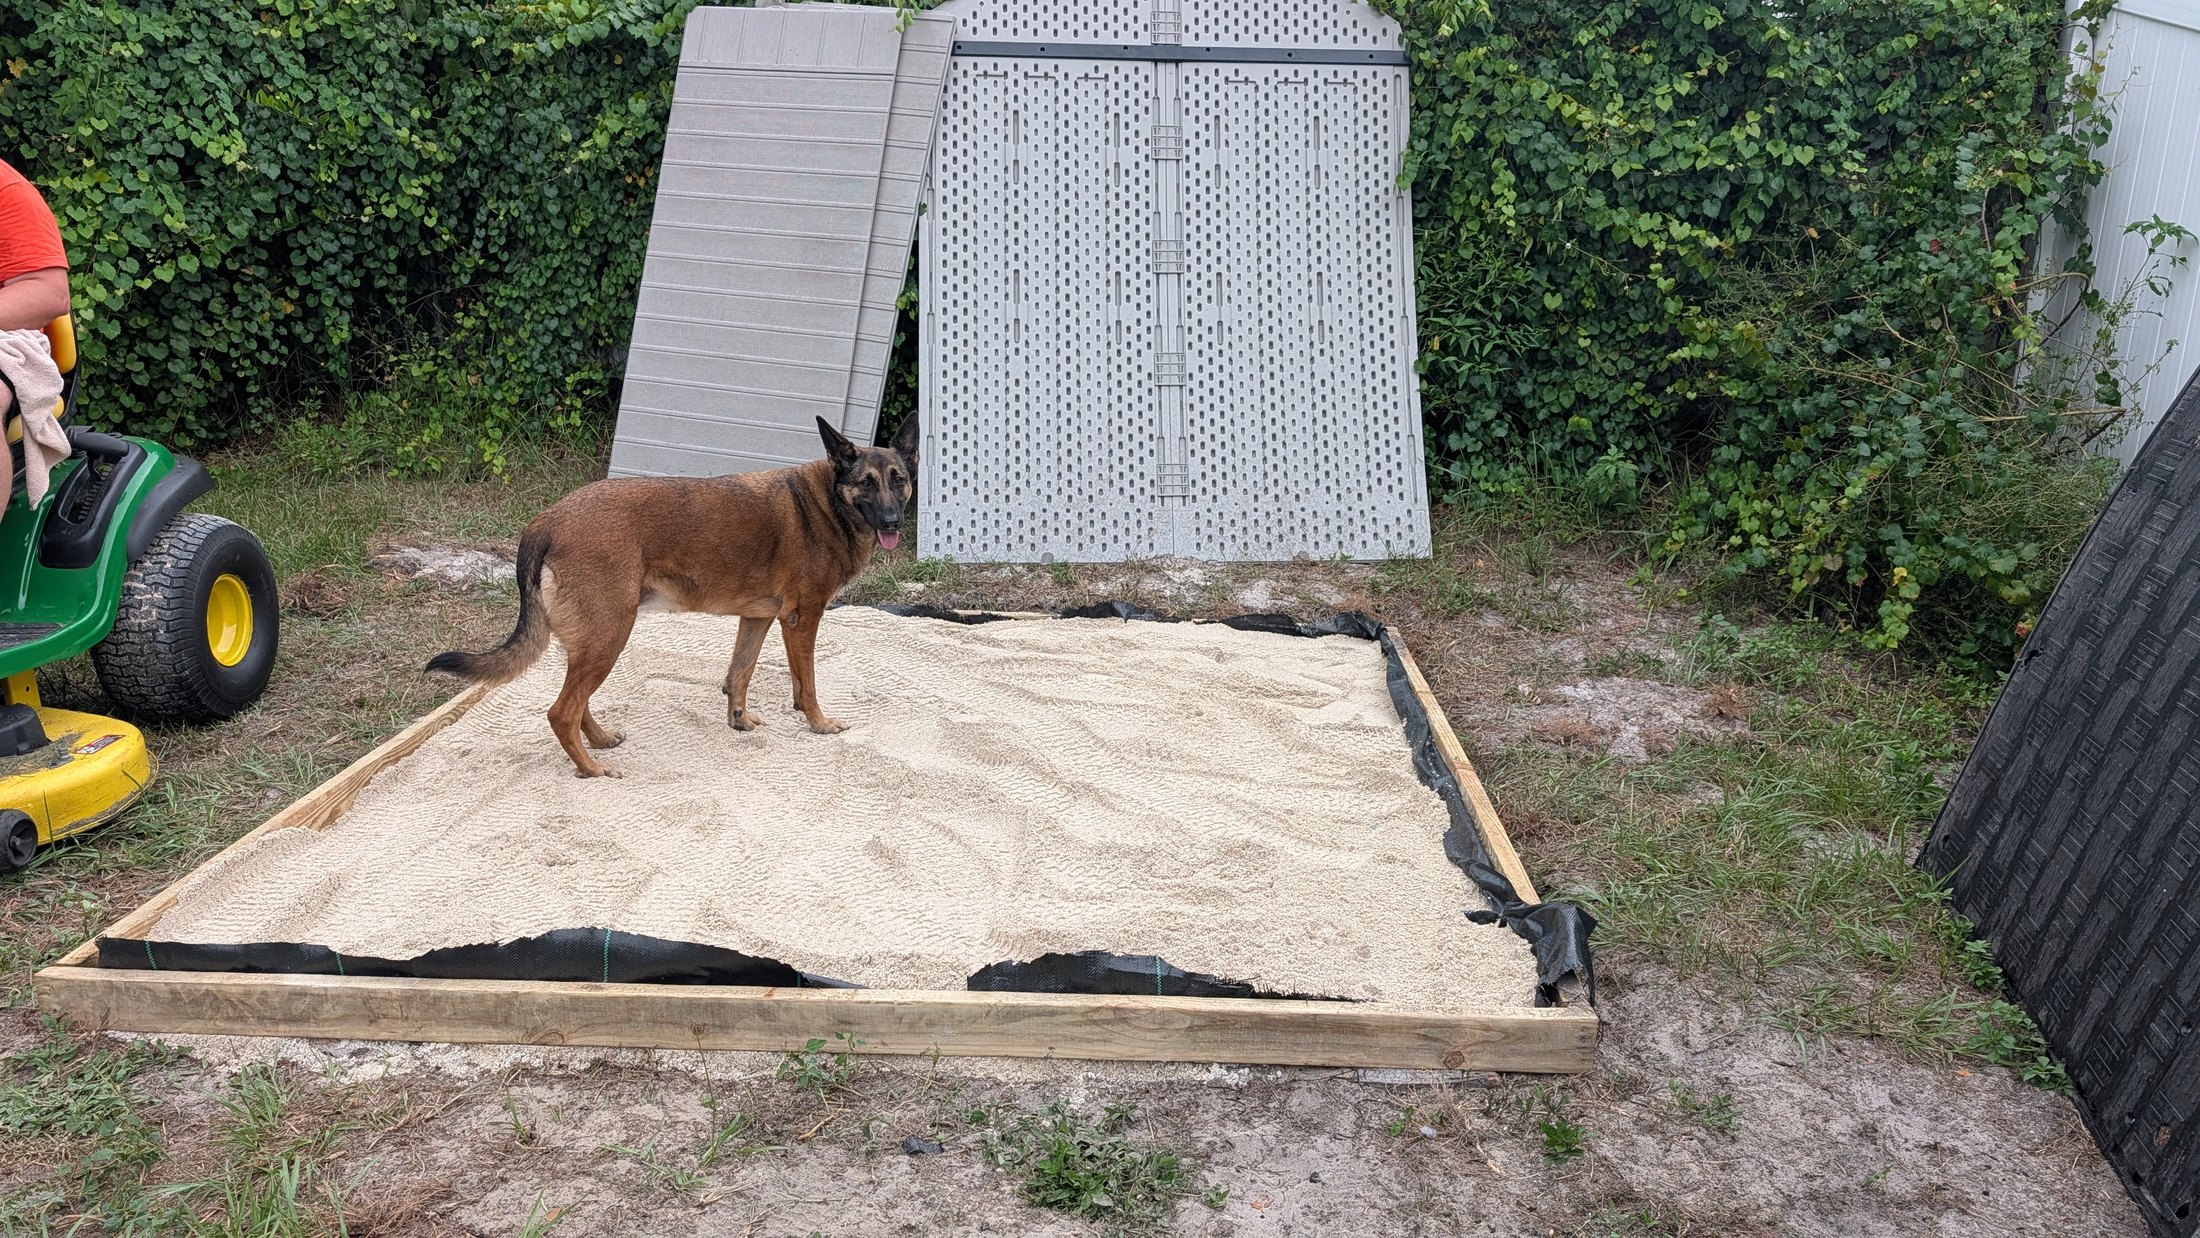
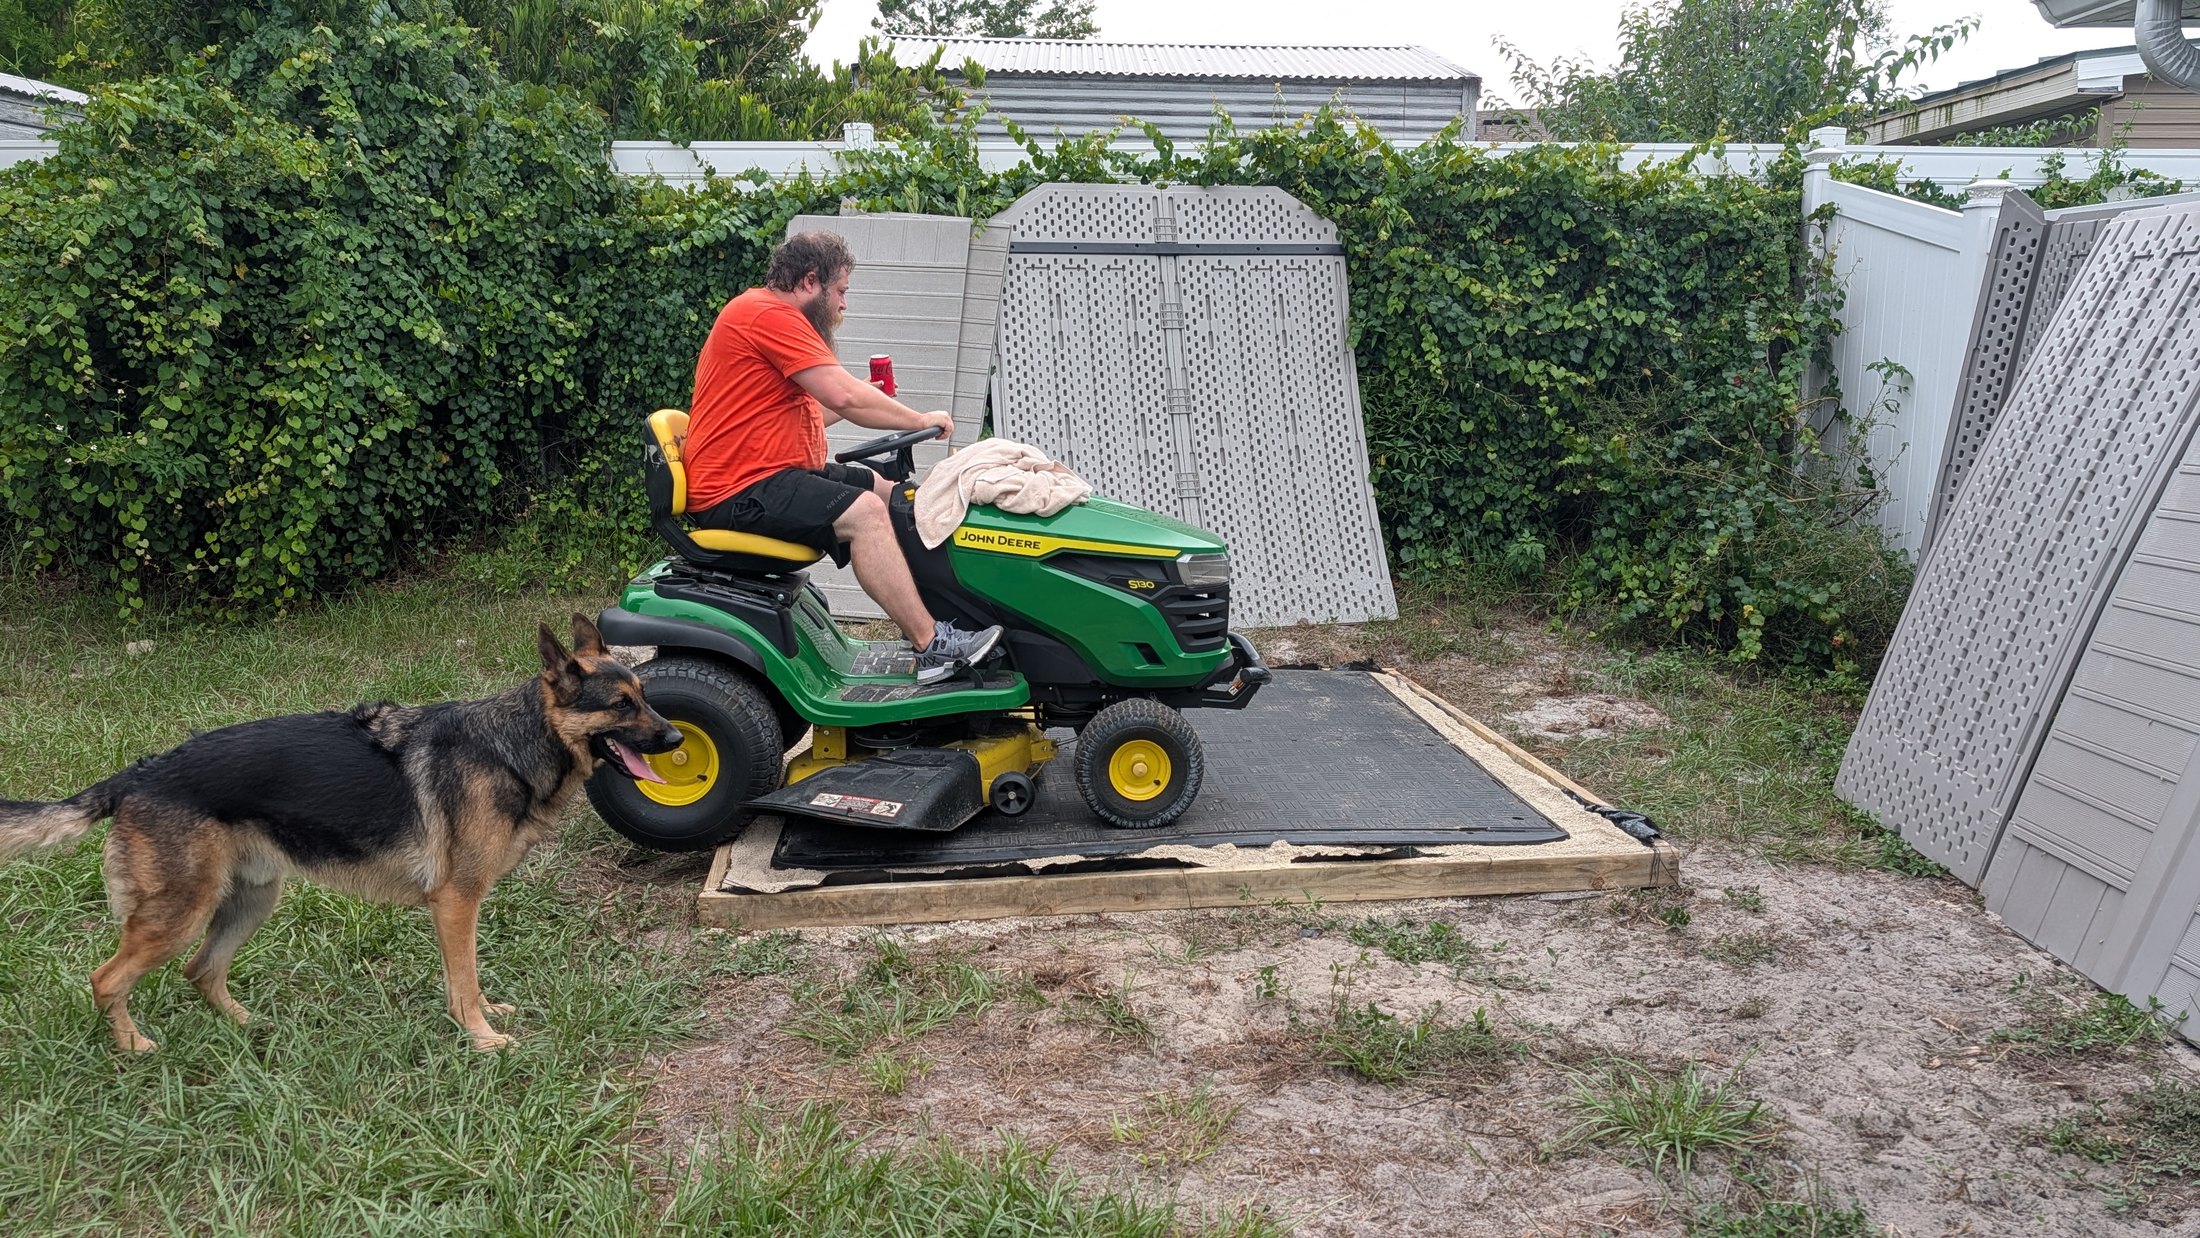
Reassembly, at last
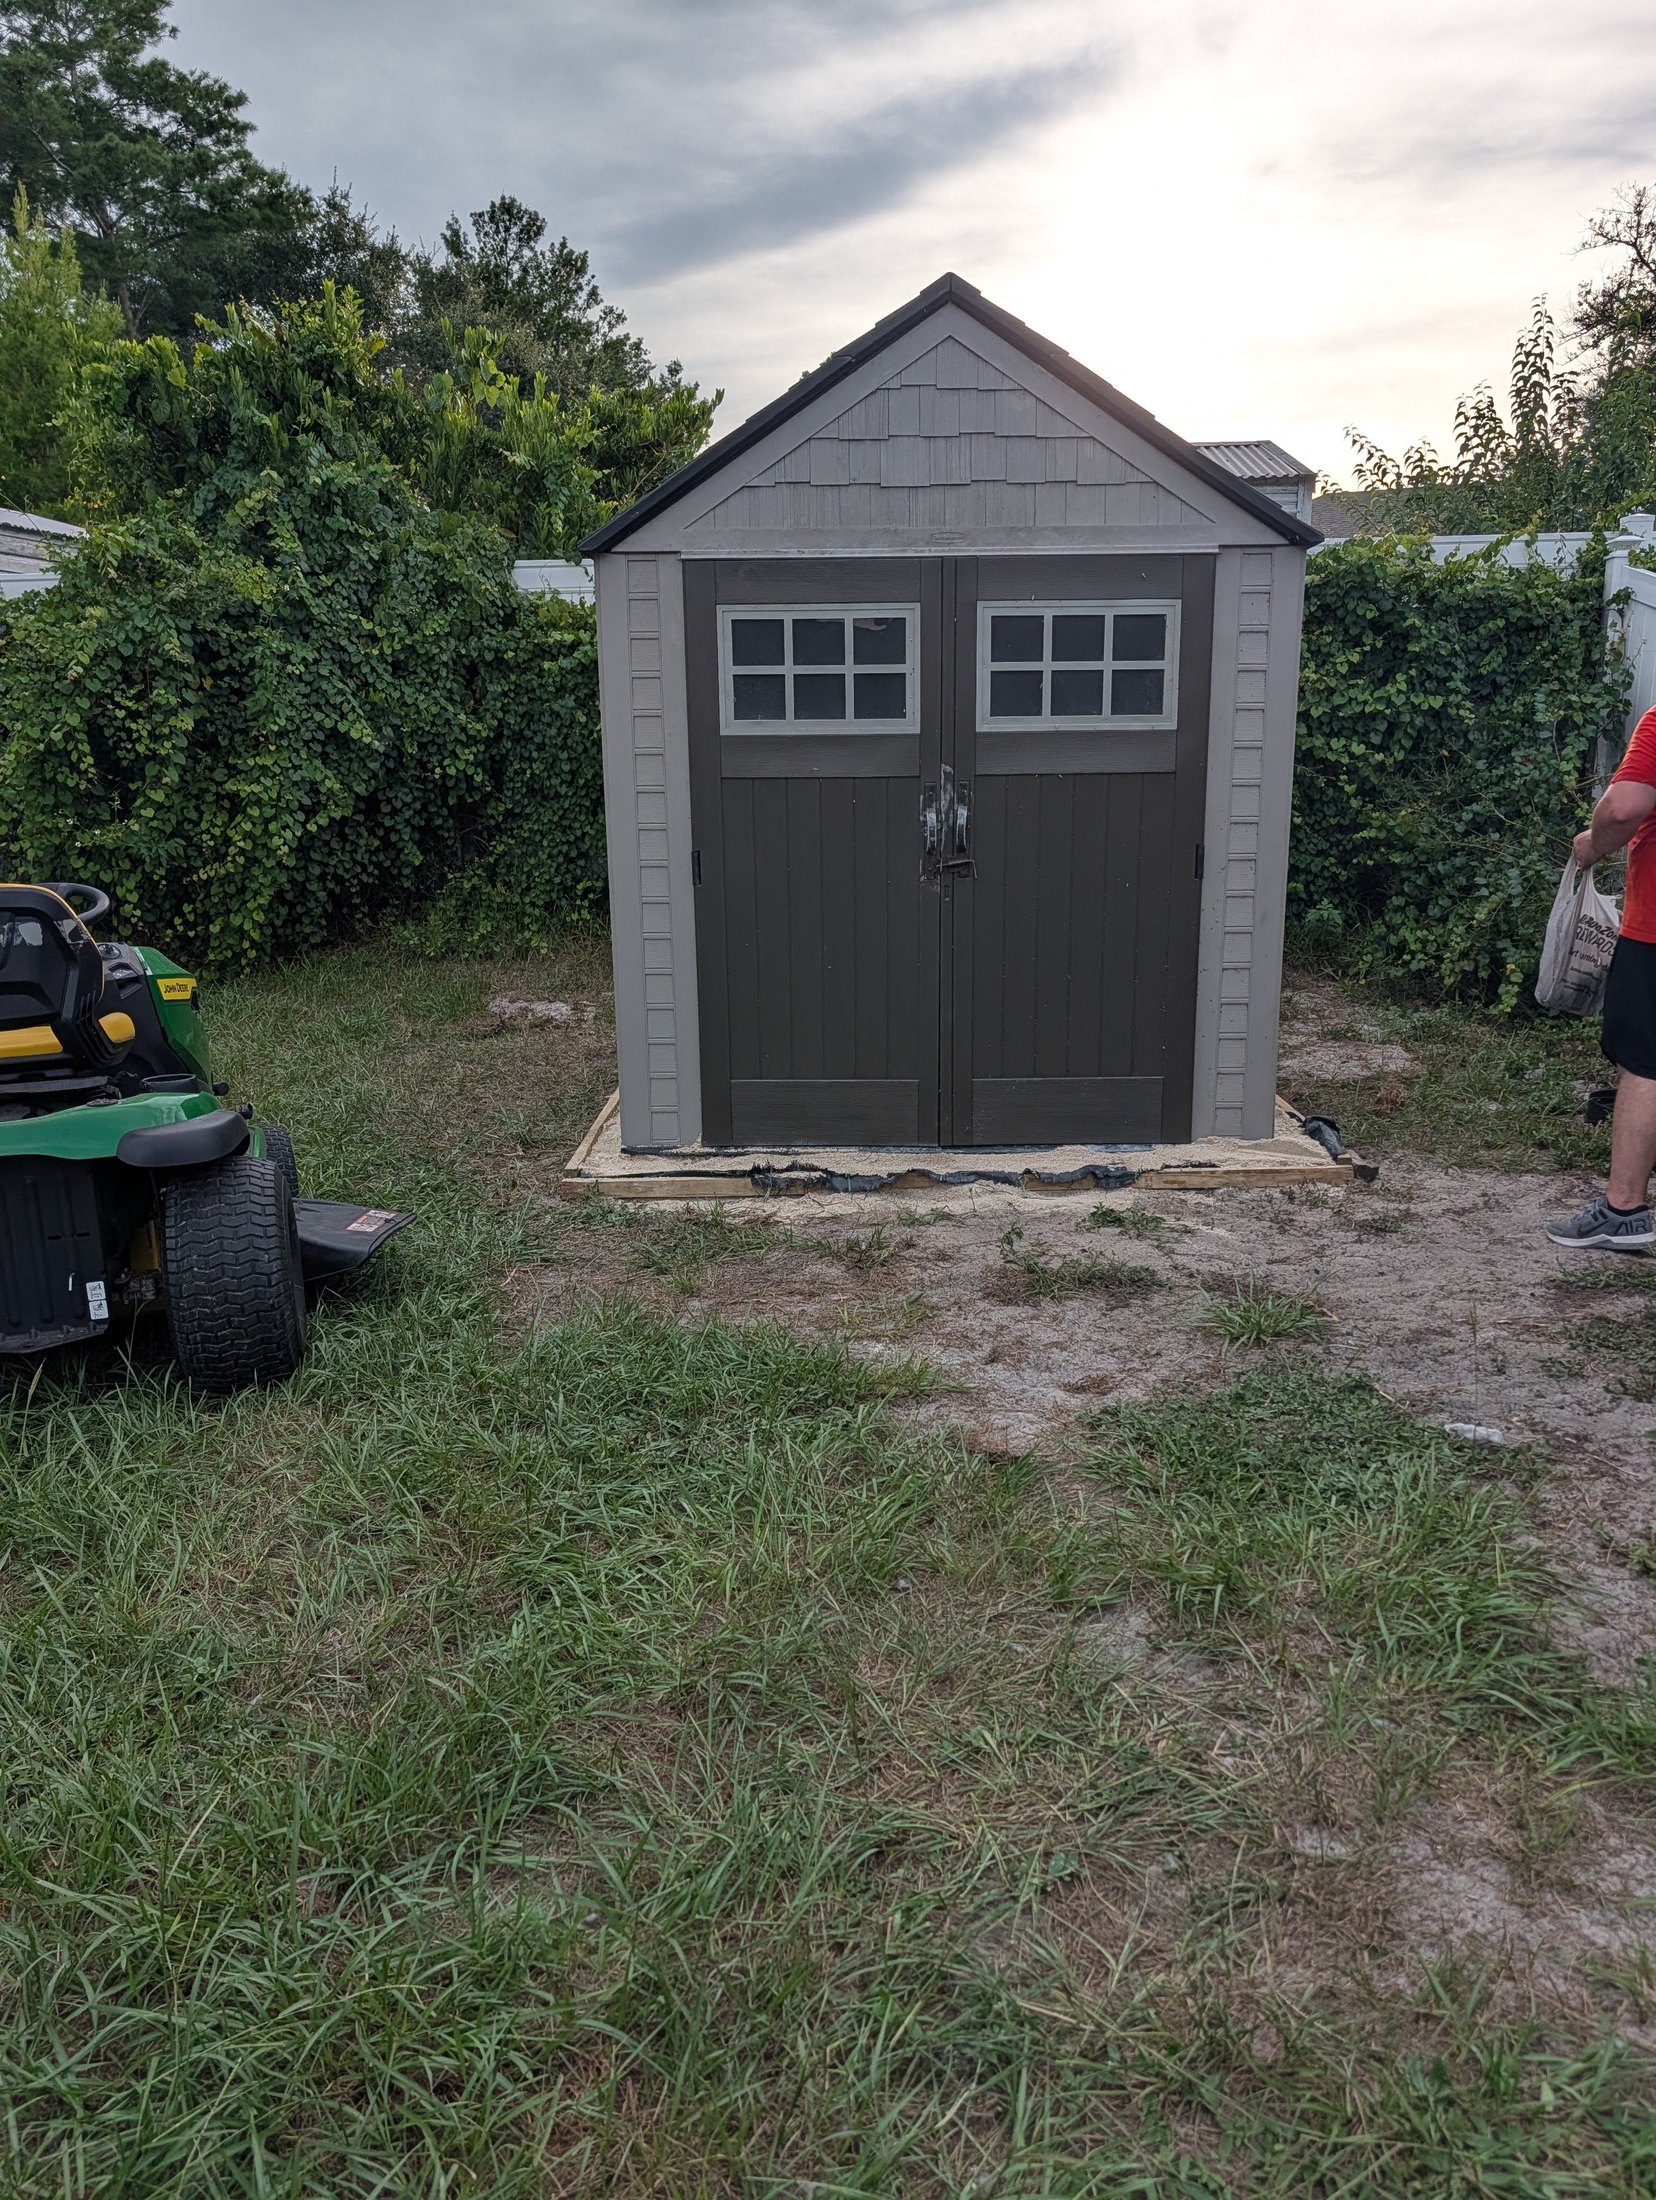
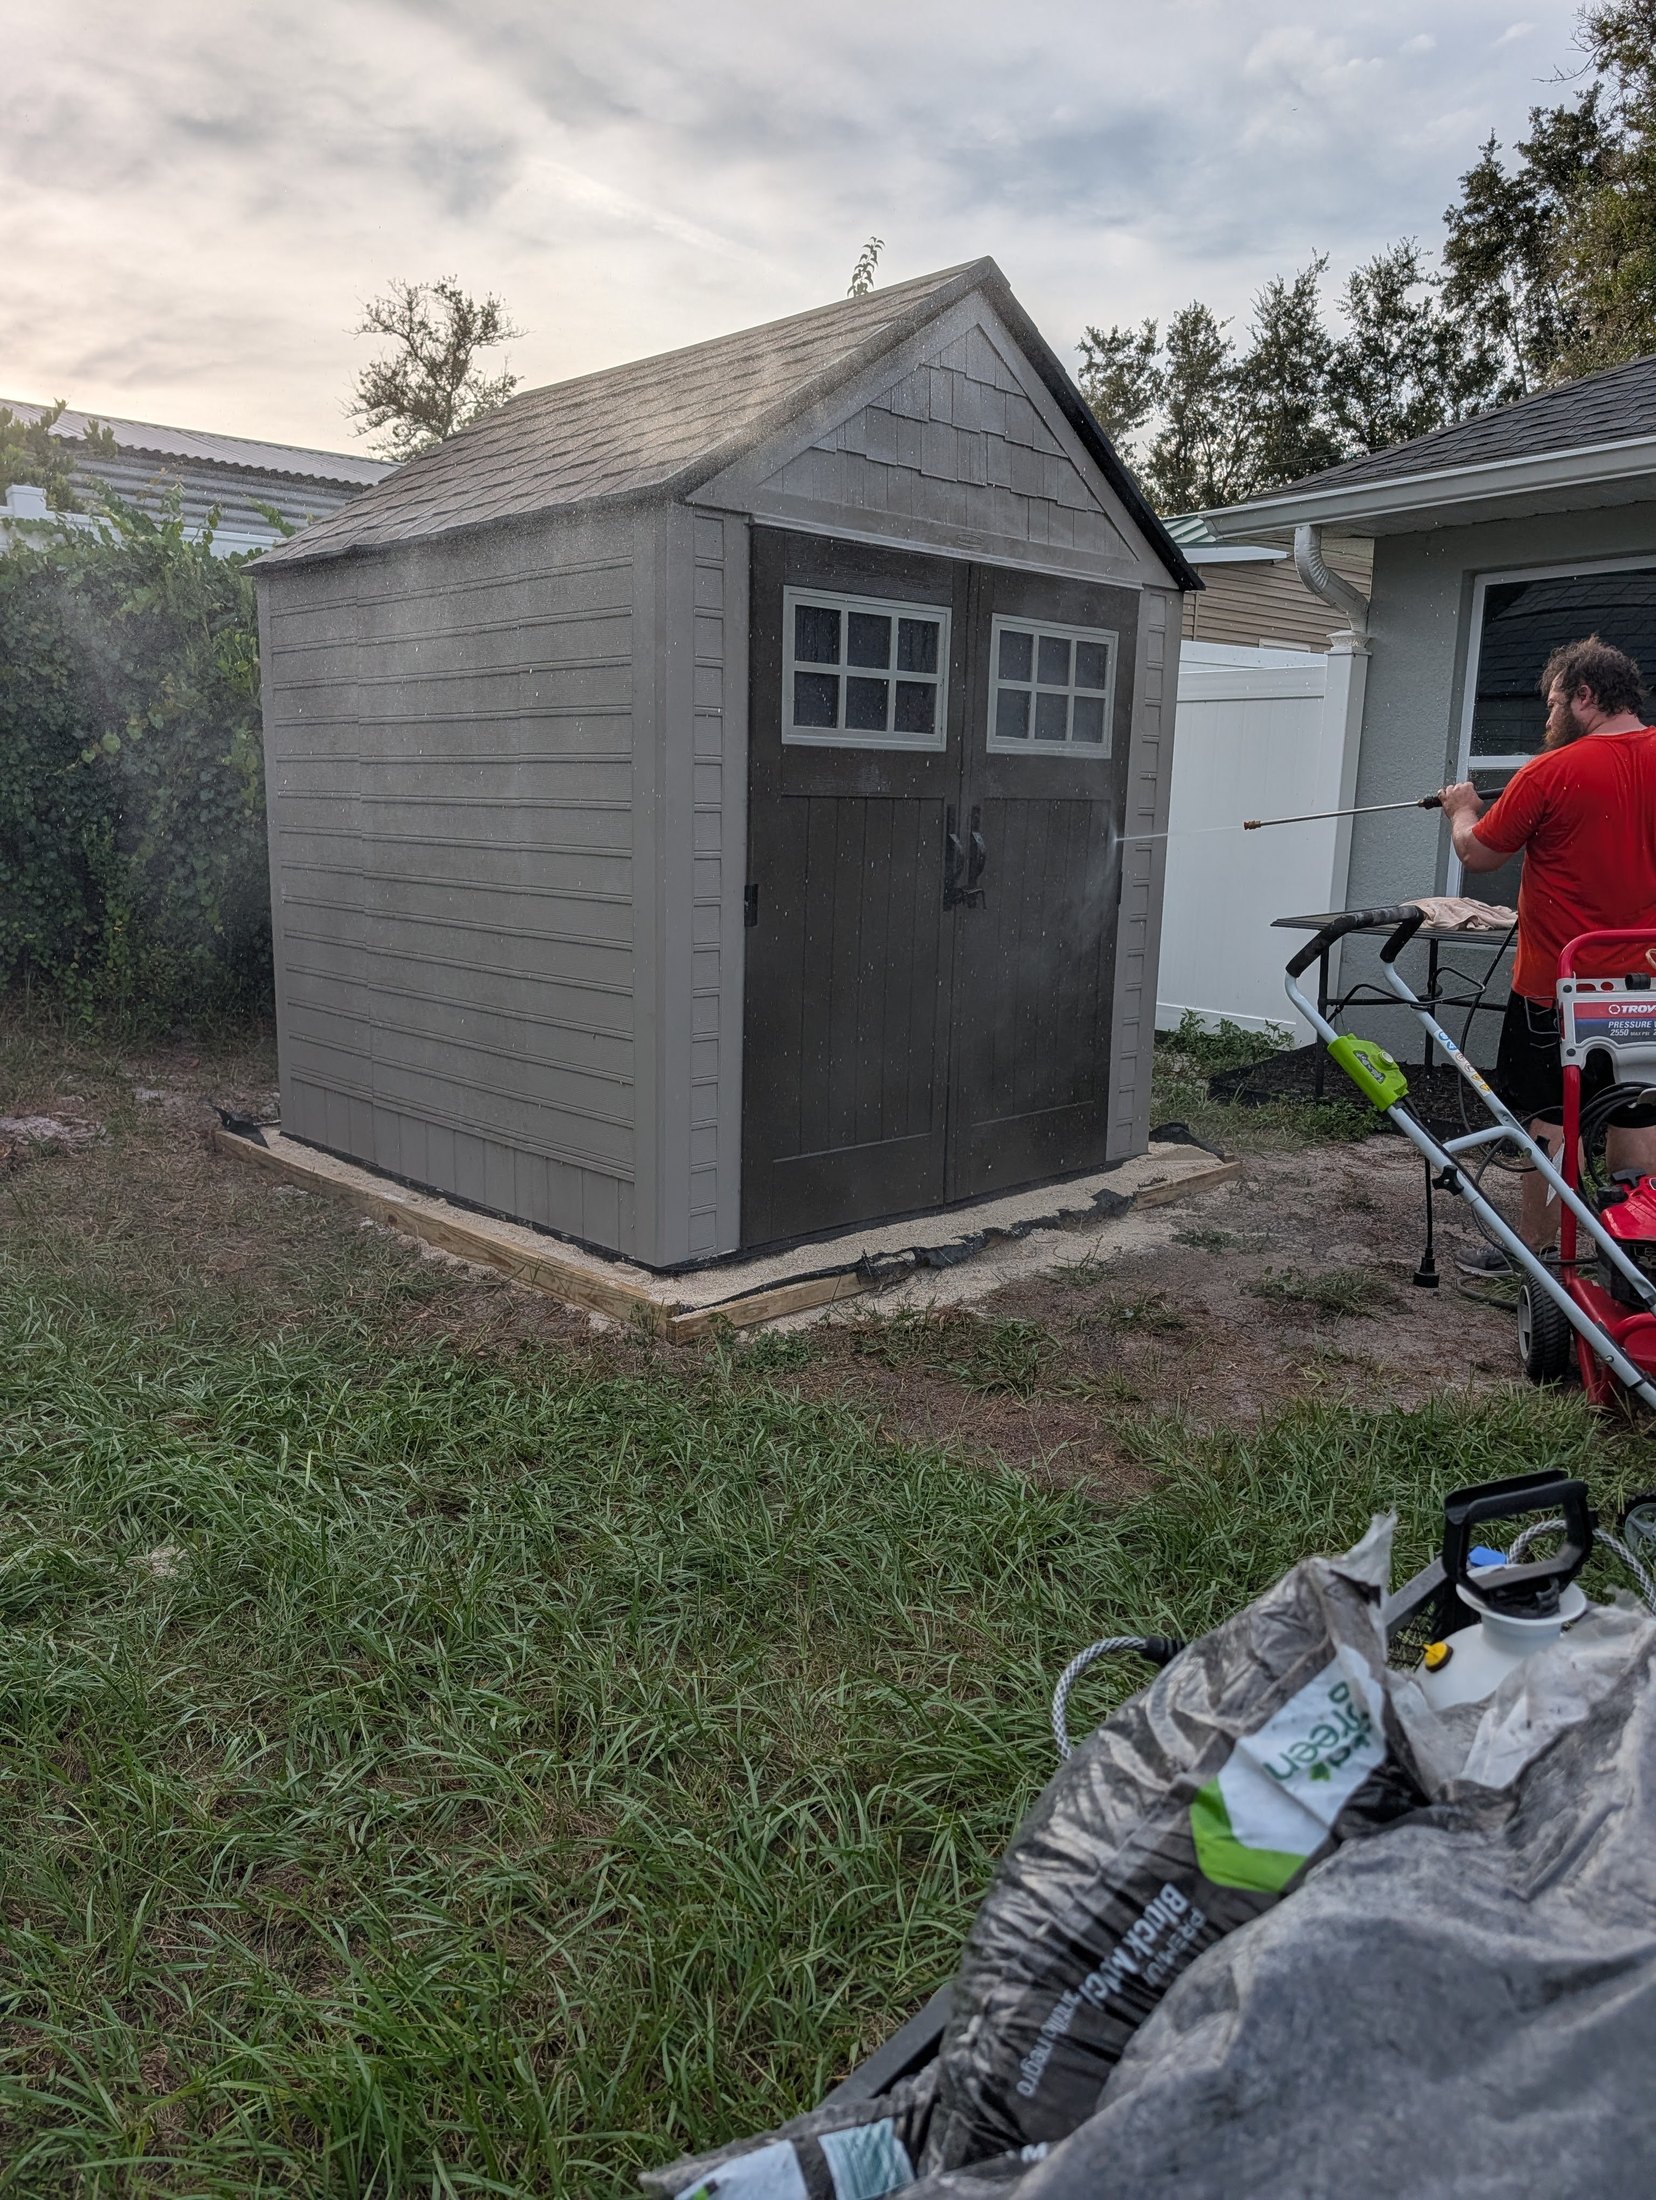
Once the base was ready, the original plan could resume. The wall panels, doors, and roof went back together on top of the prepared footprint. This time the structure was supported instead of fighting the slope below it. The doors aligned, the walls stood square, and the finished shed looked pleasantly ordinary after a project that had stopped being ordinary hours earlier.
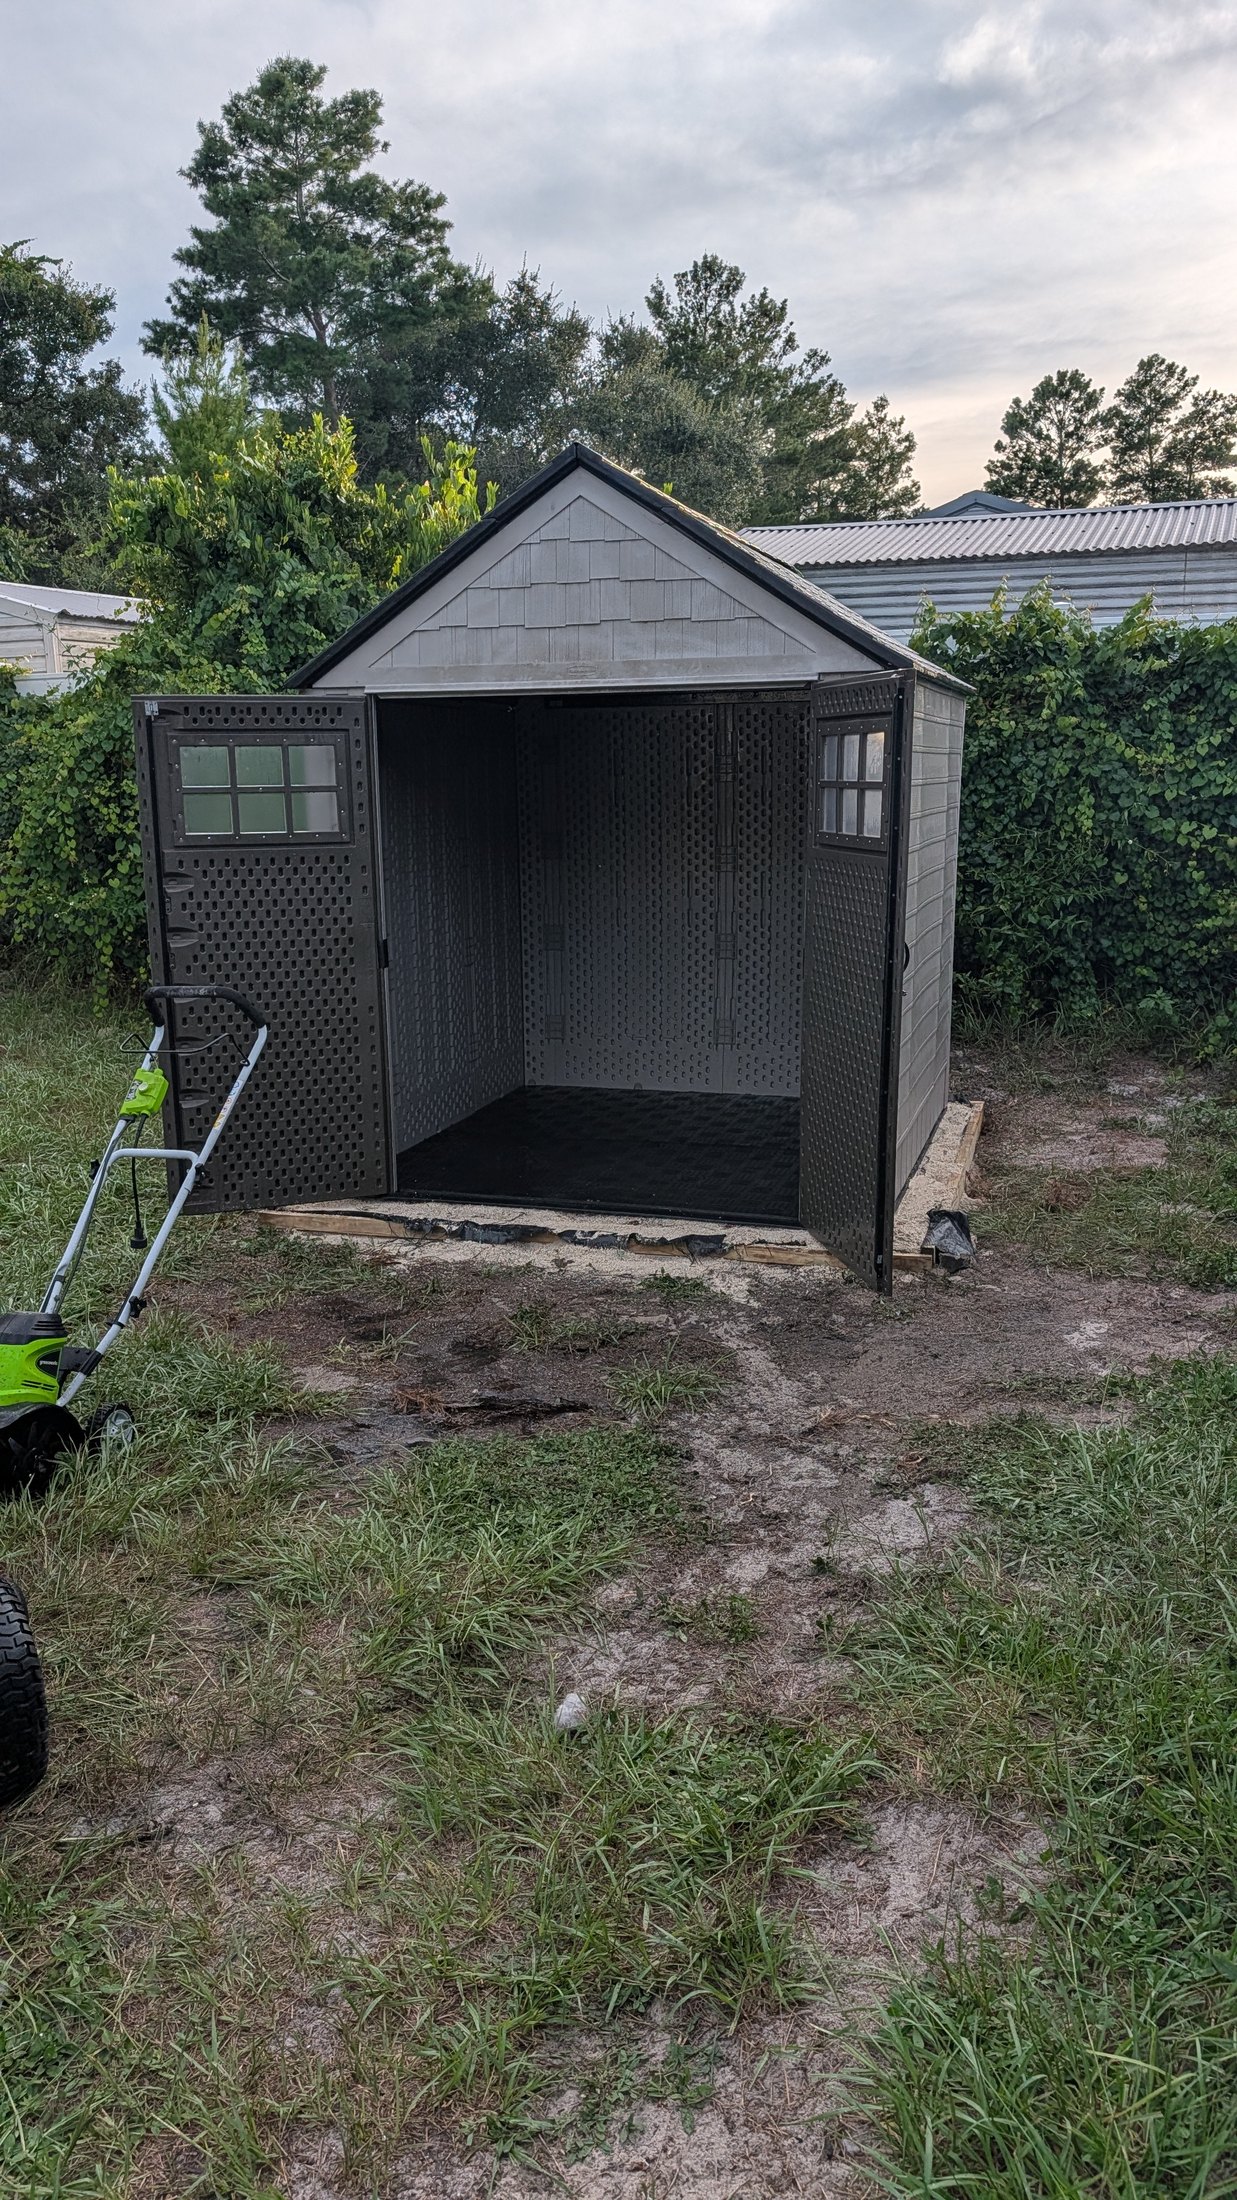
PING’S FINAL CHECK
Base level. Floor supported. Doors aligned. Structure standing square. After a long detour through site preparation, the monitor finally returned to green.
The mower-sized punchline
The lawn mower fit. Technically, that meant the project succeeded. It also occupied nearly the entire shed, because lawn mowers are much larger once they are surrounded by walls than they look while sitting in an open yard.
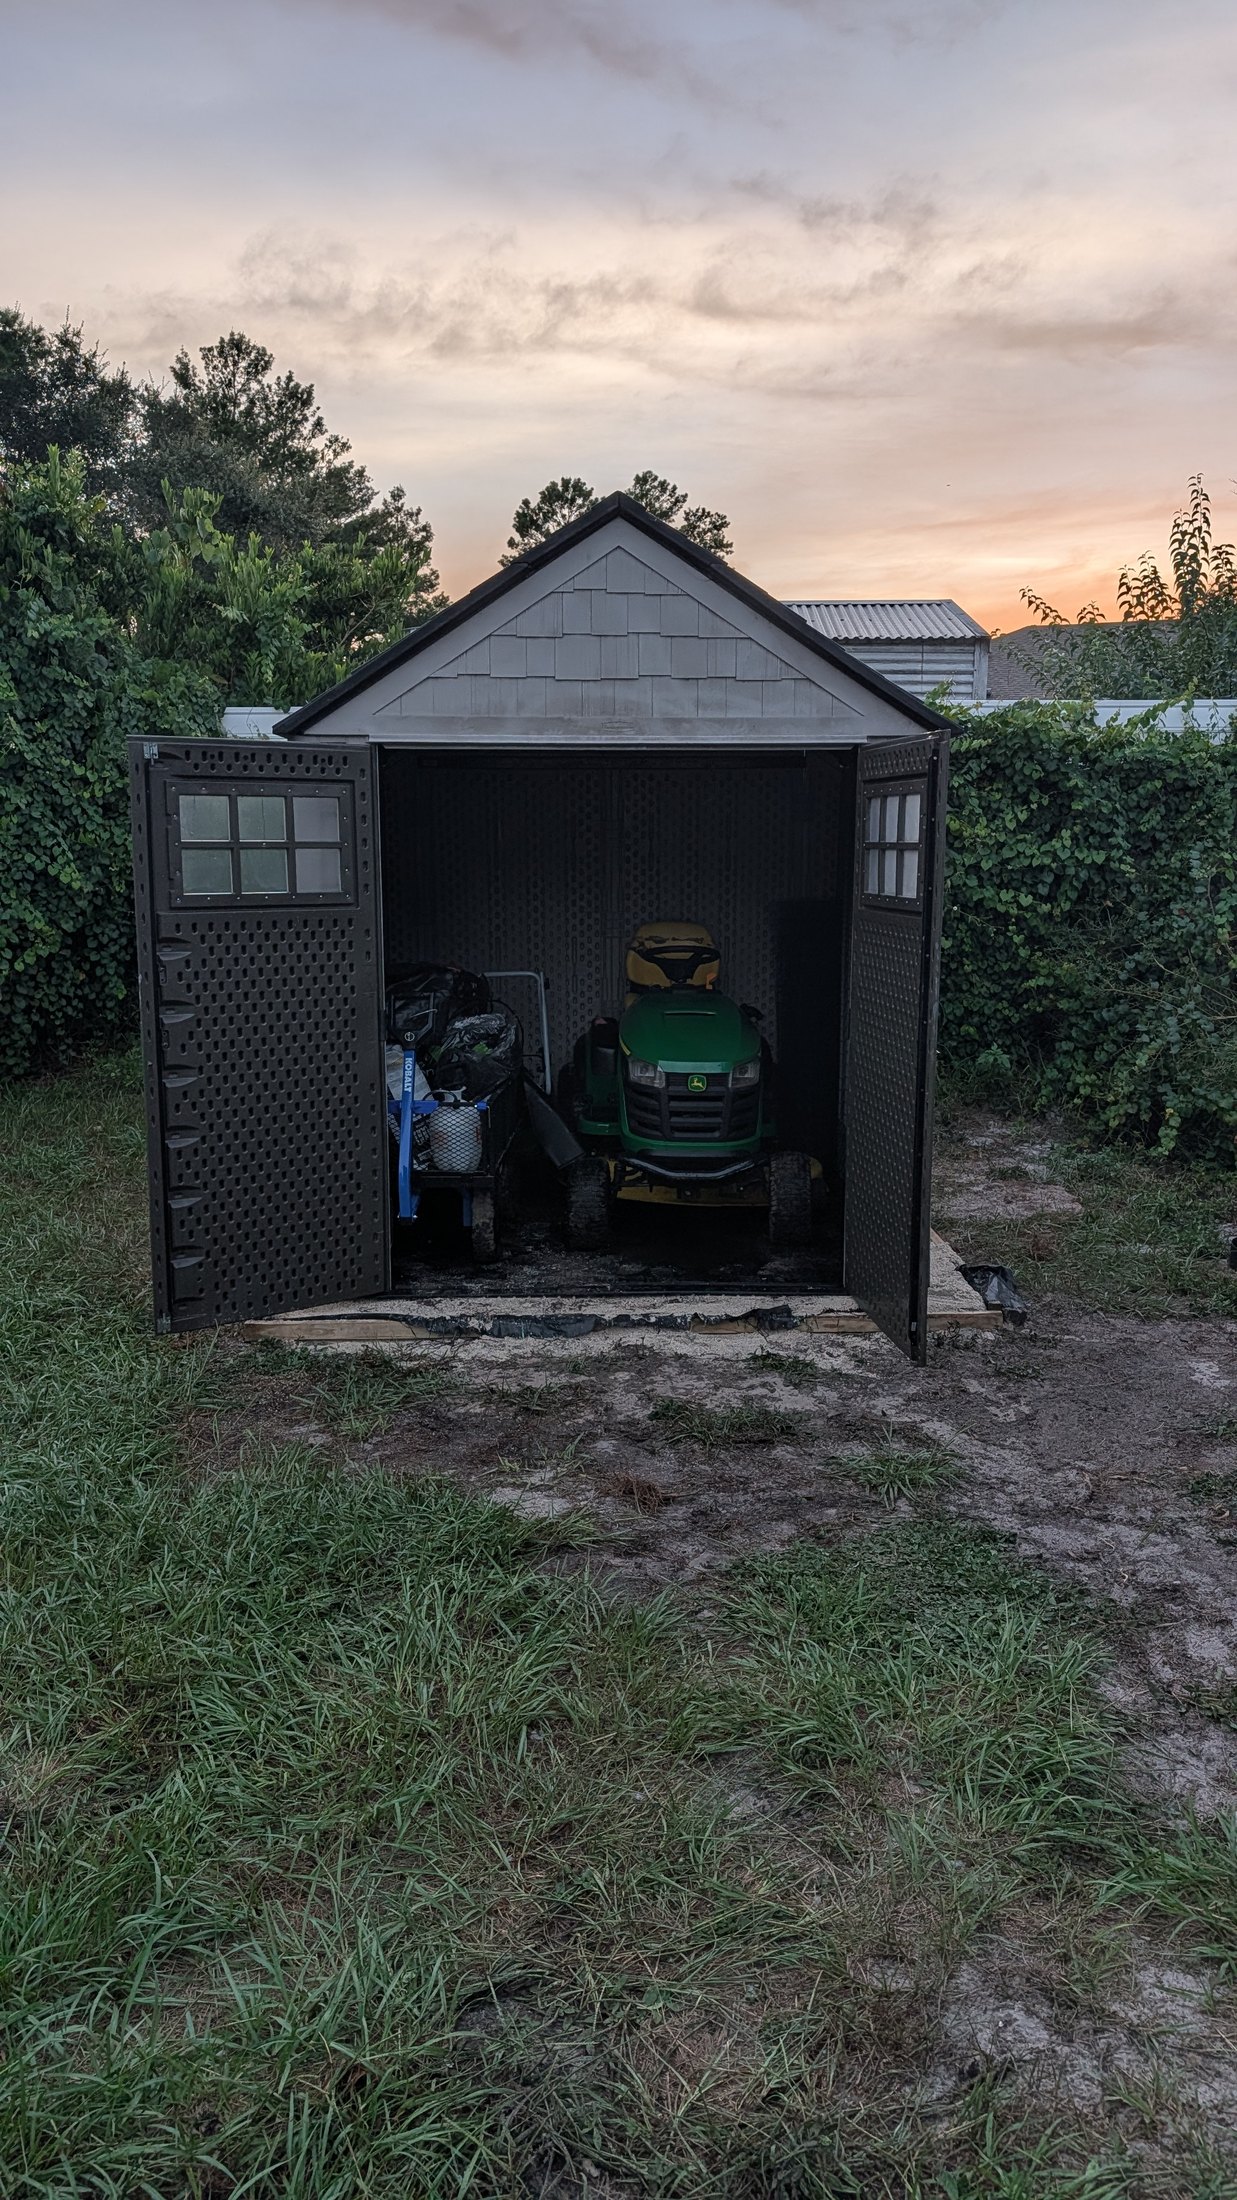
PACKET’S CAPACITY REPORT
Packet would like everyone to know the shed is not small. The mower is simply operating at enterprise scale.
What this project actually taught
- Plan for the destination as carefully as the move.
- Hidden requirements tend to appear at system boundaries, including the boundary between a shed and the ground.
- Stopping to correct the foundation is faster than debugging everything built on top of it.
- Photos are inexpensive documentation during any teardown.
- Measure storage capacity using the actual equipment, not the equipment as remembered from across the yard.
PATCH’S FINAL RECAP
The shed move succeeded because we stopped treating the foundation as somebody else’s problem. What began as transportation became site preparation, then capacity planning. Fix the dependency beneath the work, document what you take apart, and test the result with the equipment that actually has to fit.